Beginner’s Guide to Installing Plugins for Your Website

Beginner’s Guide to Installing Plugins for Your Website

When you’re building your first website, you’ll hear a lot about “plugins.” If you’re unsure what they are or how to use them, don’t worry—you’re not alone. Plugins are an essential part of creating a website, and they’re much simpler to use than they might sound.

In this guide, I’ll explain what plugins are, why they’re important, how to install them, and which plugins are particularly useful for beginners.

What Are Plugins?

Think of plugins as tools or apps that you add to your website to give it new features or improve its functionality. Just like apps on your phone, plugins can help you do things you couldn’t do otherwise. For example:

  • Want to add a contact form? There’s a plugin for that.
  • Want to improve your site’s speed? Plugins can help.
  • Need to make your site secure? A plugin can do the job.

Plugins make your website more powerful without requiring you to learn coding or hire a developer.

What is a plugin

Why Are Plugins Important?

Plugins are important because they save you time and effort. They allow you to customize your website easily and add features as your site grows. Here are a few examples of what plugins can do for you:

  • Improve SEO: Help your website rank higher on Google.
  • Protect Your Website: Keep it secure from hackers.
  • Optimize Performance: Make your site faster and more user-friendly.

The great thing is that most plugins are either free or offer free versions that are perfect for beginners.

Useful Plugins for Beginners

Here’s a list of popular and highly recommended plugins to get you started:

1. SEO Plugins

  • Yoast SEO: Helps you optimize your content for search engines with easy-to-follow guidance.
  • Rank Math: Another excellent SEO plugin with advanced features and beginner-friendly tools.

2. Security Plugins

  • Wordfence Security: Protects your site from hacking attempts and malware.
  • Sucuri Security: Provides monitoring and alerts for potential threats.

3. Performance Optimization Plugins

  • WP Super Cache: Speeds up your website by storing static versions of your pages.
  • Smush: Optimizes your images to make your site load faster.

4. Contact Form Plugins

  • WPForms: Lets you easily create and add contact forms to your site.
  • Forminator: Offers customizable forms for contact, surveys, and more.

5. Backup Plugins

  • UpdraftPlus: Creates automatic backups of your site so you can restore it if anything goes wrong.

6. E-Commerce Plugins

  • WooCommerce: The best plugin for creating an online store.

7. Design and Customization Plugins

  • Elementor: A drag-and-drop page builder to customize your site’s look without coding.
  • Beaver Builder: Another great option for building pages visually.

How to Install Plugins on Your Website

Now that you know what plugins are and why they’re useful, let’s get to the practical part: installing them. I’ll guide you step-by-step using WordPress, which is one of the most beginner-friendly platforms.
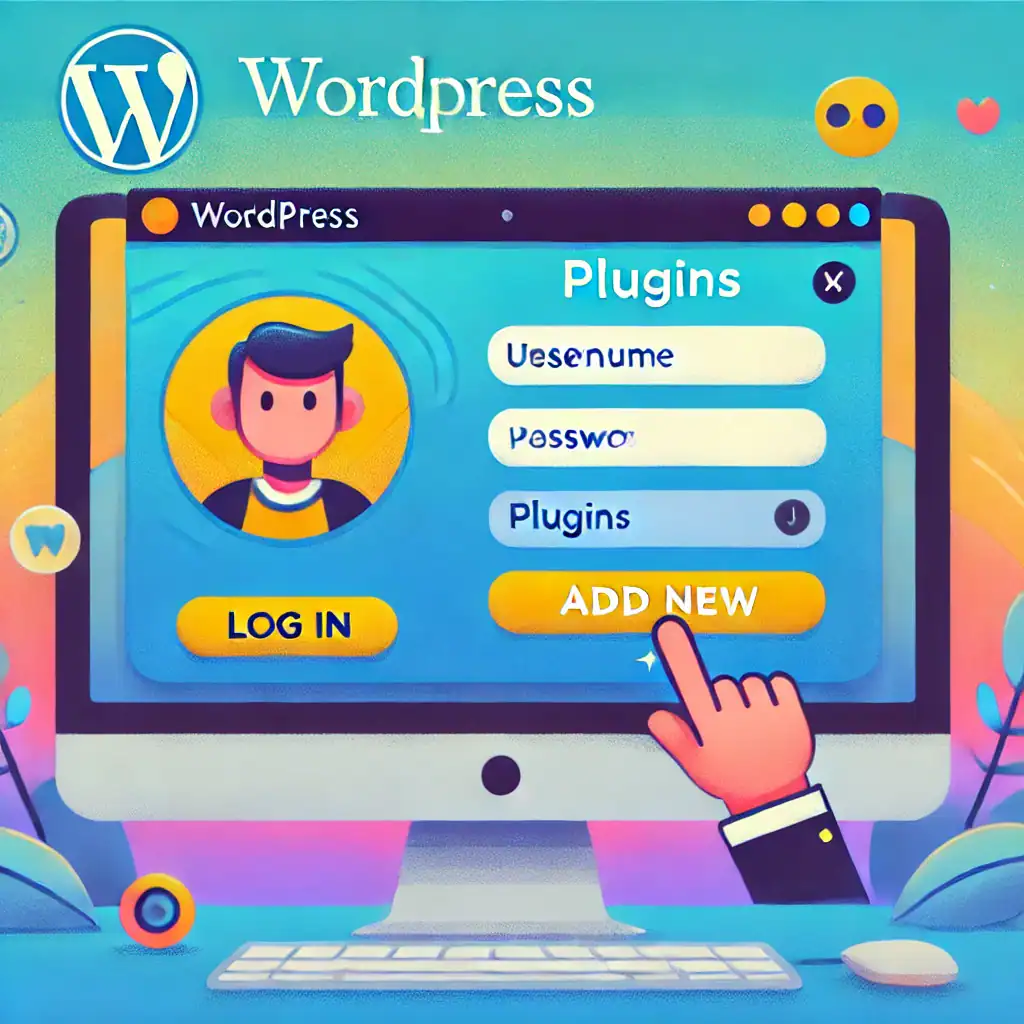
How to Install a plugin

Step 1: Log In to Your WordPress Dashboard

The WordPress dashboard is where you control everything about your website. To log in, go to:
www.YourWebsiteName.com/wp-admin
Enter your username and password, then click Log In.

Step 2: Go to the Plugins Section

On the left-hand menu of your dashboard, look for the option labeled Plugins. Click on it, then select Add New. This will take you to the WordPress Plugin Directory, where you can find thousands of plugins.

Step 3: Search for a Plugin

In the search bar at the top-right of the page, type the name of the plugin you’re looking for or describe what you need (e.g., “contact form” or “SEO plugin”).

Step 4: Install the Plugin

Once you find a plugin you like, click the Install Now button next to it. The installation process takes only a few seconds.

Step 5: Activate the Plugin

After the plugin is installed, you’ll see a button that says Activate. Click it to enable the plugin on your site.

Some plugins will add a new menu option to your dashboard where you can customize their settings. Others work automatically once activated.

Tips for Using Plugins Wisely

  1. Start Small: Don’t install too many plugins at once. Focus on the essentials, like SEO and security, when you’re just starting out.
  2. Keep Plugins Updated: Plugins are regularly updated to improve performance and fix issues. You’ll see notifications in your dashboard when updates are available.
  3. Use Trusted Plugins: Only download plugins from reputable sources like the WordPress Plugin Directory. Check ratings and reviews before installing.
  4. Deactivate Unused Plugins: If you stop using a plugin, deactivate and delete it to keep your site running smoothly.

And Finally…

Plugins are an incredible resource for beginners because they let you add powerful features to your website without needing any technical skills. By starting with a few essential plugins—like Yoast SEO for search engine optimization, WPForms for contact forms, and UpdraftPlus for backups—you can set your site up for success from day one.

Take your time exploring what plugins can do for your website. They’re there to make your life easier and your website better. As your skills grow, you’ll feel more confident experimenting with new plugins to meet your needs.

Every new step you take makes your website stronger and brings you closer to your goals. Keep moving forward—you’re building something amazing.

Here’s a little transparency: My website contains affiliate links. This means if you click and make a purchase, I may receive a small commission. Don’t worry, there’s no extra cost to you. It’s a simple way you can support my mission to bring you quality content.

How to Write Blog Posts That Will Rank on Google in 2025

How to Write Blog Posts That Will Rank on Google in 2025

Ranking a blog post on Google can feel like a mysterious process, especially if you’re new to blogging. But here’s the good news: it’s not as complicated as it seems. By following a structured approach, you can create blog posts that not only rank well but also provide value to your audience.

In this guide, I’ll walk you through the essential steps for writing blog posts that Google (and your readers) will love in 2025.

Step 1: Start with a Clear Focus – Your Topic and Keywords

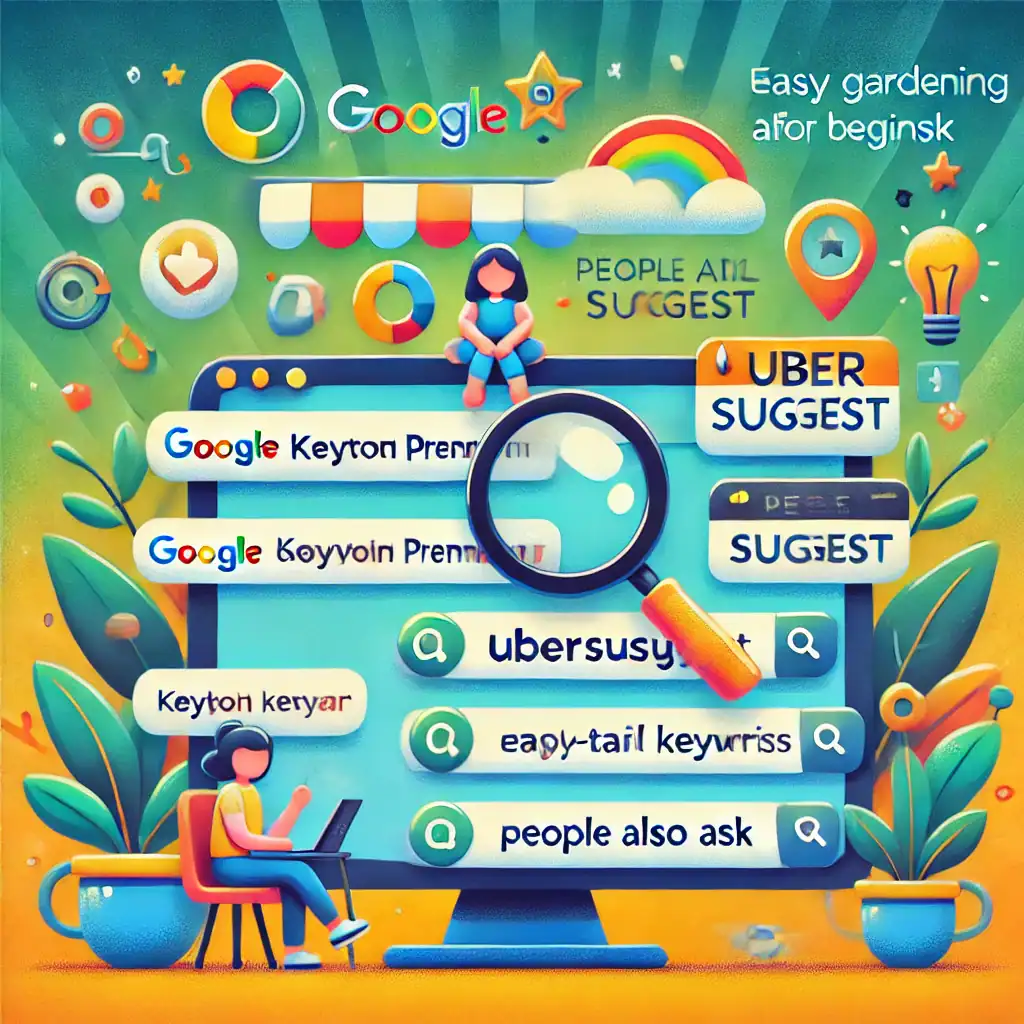
How to Find Keywords

  1. Use Free Tools: Tools like Google Keyword Planner or Ubersuggest can help you find keywords related to your topic.
  2. Search Google: Type your topic into Google and look at the “People Also Ask” section for related questions.
  3. Long-Tail Keywords: Focus on long-tail keywords (phrases with 3-5 words). These are easier to rank for and often match exactly what people are searching for.

Example: Instead of targeting “gardening,” use a more specific keyword like “easy gardening tips for beginners.”

Finding keywords

Step 2: Understand Search Intent

Search intent is the reason someone is searching for a specific keyword. Google wants to show users the most relevant results, so you need to match your content to what people are looking for.

There are three main types of search intent:

  • Informational: The reader wants to learn something (e.g., “how to grow herbs indoors”).
  • Navigational: The reader is looking for a specific website or page (e.g., “WordPress login”).
  • Transactional: The reader wants to take an action, like buying something (e.g., “best gardening tools under $50”).

For example, if you’re writing about “how to bake a cake,” focus on giving detailed instructions instead of promoting products.

Step 3: Structure Your Blog Post for Easy Reading

A well-structured blog post is easier for readers to understand and for Google to rank. Use this structure:

  1. Catchy Headline: Your headline should include your main keyword and promise value. Example: “10 Easy Gardening Tips for Beginners.”
  2. Introduction: Start with a short, engaging introduction that explains what the post is about and why it’s helpful.
  3. Subheadings (H2 and H3): Break your content into sections with subheadings. This helps readers and search engines scan your post.
  4. Short Paragraphs: Keep paragraphs short (2-3 sentences). It’s easier to read on screens.
  5. Lists and Bullet Points: Use lists to make your content skimmable.

Step 4: Write Valuable, Original Content

Good quality content

Google loves content that provides real value. Here’s how to ensure your blog post stands out:

  • Answer Questions Fully: If someone searches for “how to grow tomatoes,” make sure your post covers everything they need to know.
  • Add Unique Insights: Share your own experiences, tips, or case studies.
  • Include Supporting Details: Use examples, statistics, or expert quotes to back up your points.

Remember, Google rewards blog posts that are longer and more in-depth, but only if they stay on topic and provide useful information.

Step 5: Optimize for On-Page SEO

On-page SEO refers to the things you can do within your blog post to help it rank higher on Google. Here are the basics:

  1. Include Your Keyword: Use your keyword in the headline, the first 100 words, at least one subheading, and naturally throughout the post.
  2. Use Internal Links: Link to other relevant pages or posts on your website. This helps readers and Google navigate your site.
  3. Add External Links: Link to trusted, high-authority websites to back up your points.
  4. Optimize Images: Use descriptive file names and alt text for images (e.g., “tomato-growing-tips.jpg”).
  5. Meta Description: Write a short (150-160 characters) summary of your post that includes your keyword.

Step 6: Make Your Content User-Friendly

User experience (UX) plays a big role in how Google ranks your blog. If readers enjoy your content and stay on your page longer, Google sees your post as valuable. Here’s how to improve UX:

  • Use a Mobile-Friendly Design: Most readers will access your site on their phones. Make sure your site works well on small screens.
  • Add Images and Videos: Visuals make your content more engaging.
  • Improve Loading Speed: Use tools like PageSpeed Insights to check your site’s speed and fix issues.

Step 7: Promote Your Blog Post

Publishing your blog post is just the beginning. To rank on Google, you need people to read and share it. Here’s how to promote your post:

  • Share on Social Media: Post your blog on platforms like Facebook, Twitter, or Pinterest.
  • Email Your Subscribers: If you have an email list, send them a quick update about your new post.
  • Engage in Communities: Share your post in relevant online forums or groups.
  • Build Backlinks: Reach out to other bloggers or websites and ask if they’d link to your post.
Share your posts

Step 8: Monitor and Improve Your Post

Even after your post is live, you can make updates to improve its performance. Use tools like Google Analytics to see how many visitors your post is getting and what they’re doing on your page. If you notice it’s not ranking as well as you’d like, try:

  • Adding more detail to your content.
  • Updating the post with fresh information.
  • Including more internal and external links.

And Finally...

Writing blog posts that rank on Google in 2025 isn’t about gaming the system—it’s about creating valuable, well-structured content that helps your audience. When you focus on your readers’ needs and follow best practices like keyword research, good structure, and SEO optimization, you’re setting yourself up for success.

Take your time to practice and improve. Each blog post is an opportunity to learn more about your audience and refine your skills. The more you create, the better you’ll get at writing content that both ranks well and serves your readers effectively.

Here’s a little transparency: My website contains affiliate links. This means if you click and make a purchase, I may receive a small commission. Don’t worry, there’s no extra cost to you. It’s a simple way you can support my mission to bring you quality content.
Can I Make Money on My Own Website?

Can I Make Money on My Own Website?

The short answer is yes, you absolutely can make money with your own website.

Whether you’re starting from scratch or have a business idea in mind, creating a website is a fantastic way to build an online presence and start earning. The great news? You don’t need to be a tech expert or have marketing experience to succeed.

In this guide, I’ll gently walk you through how making money with your website works, the steps to get started, and some beginner-friendly strategies that work. Let’s dive in.

Step 1: Why Having Your Own Website is Powerful

A website is like your home base on the internet.

It’s where people can learn about your products, services, or expertise.

Unlike social media platforms that can change their rules or disappear, a website is something you own and control.

This gives you the freedom to grow it however you want.

Having a website is powerful

Step 2: Setting Up Your Website – A Simple Process

Don’t worry if the idea of setting up a website feels daunting. These days, platforms like WordPress and website builders make it easy for beginners. Here’s a simple breakdown:

  1. Choose a Domain Name
    Your domain is the address of your website (e.g., www.yoursite.com). Pick something short, memorable, and related to what you want to do.
  2. Get Hosting
    Hosting is where your website lives on the internet. Companies like SiteGround or Wealthy Affiliate offer beginner-friendly hosting plans.
  3. Install WordPress
    WordPress is a free platform that powers most websites. It’s beginner-friendly and offers thousands of themes to customise your site.
  4. Pick a Theme
    A theme decides how your website looks. Choose one that’s clean and professional.
  5. Add Essential Pages
    Start with basic pages like Home, About, and Contact. If you’re offering something specific, create a Products or Services page.

Step 3: Ways to Make Money with Your Website

Here are a few straightforward ways to start earning:

  1. Affiliate Marketing
    This is one of the simplest ways to earn money. You promote products or services on your site and earn a commission when someone buys through your link.
    Example: If you love skincare, you can recommend products and include affiliate links in your articles.
  2. Selling Products or Services
    You can sell physical items, digital products (like e-books), or services (like coaching or consulting). Your website becomes the storefront.
  3. Advertising
    Platforms like Google AdSense let you display ads on your site. You earn money every time someone clicks on them.
  4. Memberships or Subscriptions
    Offer exclusive content or services for a monthly fee. This works well if you have valuable skills or knowledge to share.
  5. Sponsored Content
    Companies may pay you to write about their products or services if your website attracts a good audience.

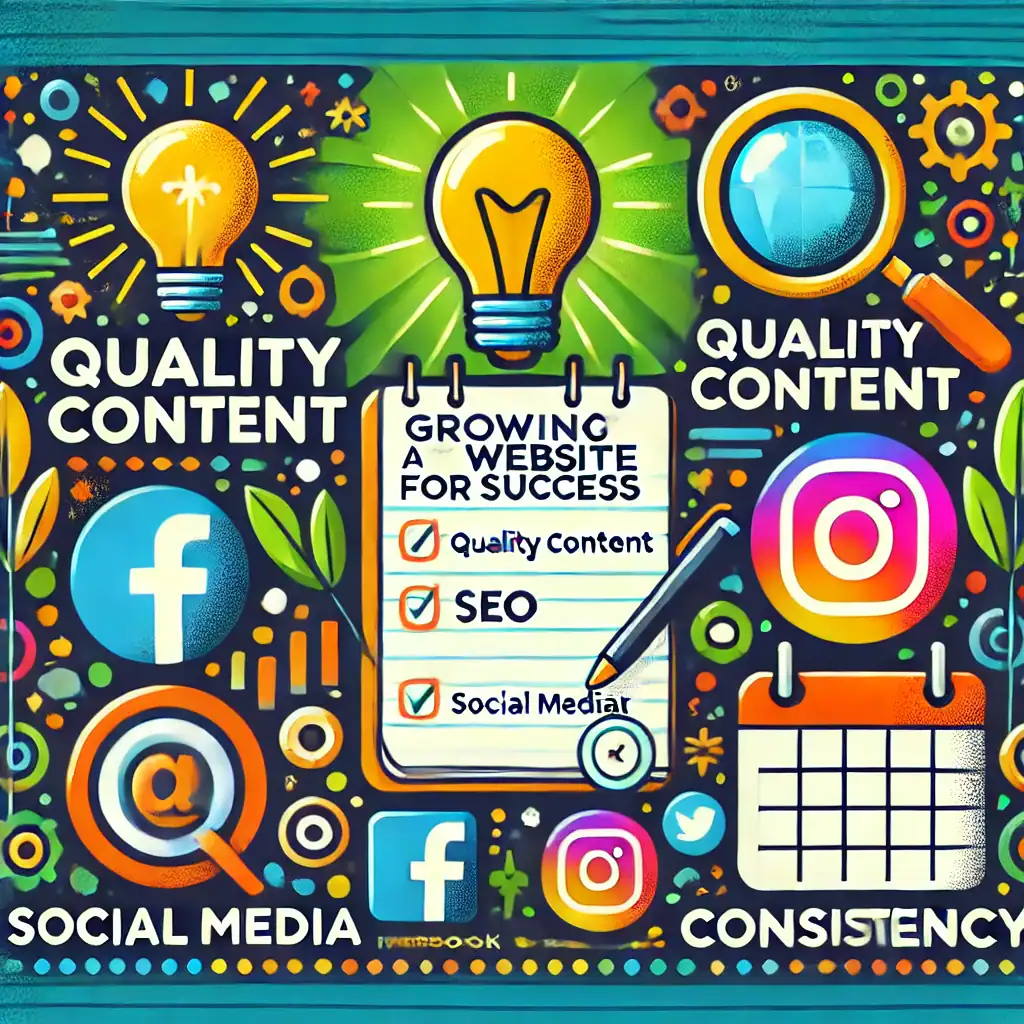
Step 4: Growing Your Website for Success

quality content

Once your website is live, focus on these essentials:

  • Quality Content: Create helpful and engaging content that solves your audience’s problems.
  • SEO (Search Engine Optimisation): This helps people find your website when they search on Google. Focus on using keywords and writing clear, relevant articles.
  • Social Media: Share your content on platforms like Facebook or Instagram to attract visitors.

Consistency: Keep adding content and improving your website. Growth takes time, but consistency pays off.

And Finally...

Starting a website and making money online is entirely possible, even if you’re a complete beginner. It might feel overwhelming at first, but take one step at a time. The key is to start small, stay consistent, and focus on learning as you go.

Remember, the sooner you start, the sooner you can begin building your online presence and earning from your website. Your journey to success starts with just one click.

Here’s a little transparency: My website contains affiliate links. This means if you click and make a purchase, I may receive a small commission. Don’t worry, there’s no extra cost to you. It’s a simple way you can support my mission to bring you quality content.

What Is the Benefit of Having a Website for Your Business?

What Is the Benefit of Having a Website for Your Business?

In today’s world, a website isn’t just a luxury—it’s a necessity for any business looking to grow, connect with customers, and stay competitive.

If you’ve ever wondered why having a website is essential for your business, this guide will explain everything in simple terms. By the end, you’ll feel confident about taking your first steps towards creating your own website.

1. Your Business Is Always Open

Unlike a physical shop with opening hours, a website works for you 24/7.

This means potential customers can learn about your products or services whenever it suits them, even if it’s late at night.

Imagine how many more people you could reach simply by being available all the time.

Why have a website

2. Reach More People

Having a website removes geographical barriers. Instead of only serving local customers, your business can reach people across your town, country, or even the world. Whether you run a small shop or offer a service, a website allows you to expand your audience without expensive overheads.

3. Build Trust and Credibility

When people look for a product or service, they often turn to the internet first. If your business doesn’t appear online, it might be seen as outdated or less trustworthy.

A professional website shows that you’re serious about your business and gives customers a place to learn more about you, read reviews, or contact you with ease.

4. Cost-Effective Marketing

Traditional advertising can be expensive, but a website offers affordable and long-lasting marketing. With a website, you can showcase your business, update your offerings, and share blog posts to attract new customers—all for a fraction of the cost of print or TV ads.

5. Showcase Your Products or Services

show off products

A website is the perfect place to show off what you offer.

With clear images, descriptions, and pricing (if appropriate), customers can easily see what’s available.

For service-based businesses, it’s a chance to explain exactly how you can help, with testimonials or case studies for added proof.

6. Improve Customer Experience

Websites make it easy for customers to find the information they need—like your opening hours, location, or contact details—without having to call or visit in person. If you include a contact form or chat feature, you can answer questions quickly and efficiently, leaving customers with a positive impression.

7. Stay Ahead of Competitors

If your competitors have websites and you don’t, you’re already at a disadvantage. A well-designed website can help you stand out by showcasing what makes your business special. It’s your chance to tell your story and connect with customers in a way that resonates with them.

8. Collect Customer Insights

With tools like Google Analytics, a website can show you valuable information about your customers, such as where they come from, what they’re interested in, and how they found your site. This data can help you make smarter business decisions and improve your offerings.

And Finally...

A website is more than just a digital brochure—it’s your business’s home on the internet.

It works for you around the clock, connects you with customers near and far, and helps your business grow in ways you might never have thought possible.

If setting up a website feels overwhelming, remember that taking it step by step is key.

 The benefits are well worth it, and you’ll be setting your business up for long-term success.

Here’s a little transparency: My website contains affiliate links. This means if you click and make a purchase, I may receive a small commission. Don’t worry, there’s no extra cost to you. It’s a sim

What Can I Do to Fix Parts of My Website That Look Out of Place?

What Can I Do to Fix Parts of My Website That Look Out of Place?

When you’re building your website, it’s normal to notice sections that don’t look quite right.

These could be design mismatches, alignment issues, or even features that don’t work as they should. The good news is that these issues are usually easy to fix once you identify the problem.

Let me guide you step-by-step to make sure your website looks professional, consistent, and trustworthy.

Step 1: Identify What Looks Out of Place

The first step is to carefully review your site. Look at your pages and ask yourself:

  • Do the colours, fonts, and styles match across all pages?
  • Are images properly sized and clear?
  • Is the spacing between text and elements consistent?
  • Do buttons and links work as expected?

Make a list of the specific areas that stand out or don’t feel right.

fix website problems

Step 2: Fix Visual Inconsistencies

Consistency in design is key to a professional-looking website. Here’s how you can address common visual problems:

  • Colours: Use a single colour palette for your website. Many website builders have tools to help you apply colours across your entire site.
  • Fonts: Choose one or two fonts and use them for all headings and body text. Avoid mixing too many styles.
  • Spacing: Check that there’s enough space between sections and that everything is aligned neatly.

💡 Tip: Preview your site on both desktop and mobile to make sure everything looks good on all devices.

Step 3: Replace Low-Quality Images

Blurry or mismatched images can make your website look unprofessional. Here’s how to fix them:

  • Use high-quality images: Tools like Canva can help you create or edit visuals.
  • Resize images: Ensure images are the correct size for the space they’re in. Many website builders allow you to crop and adjust images easily.
  • Consistent style: Use images with a similar tone or theme to maintain a cohesive look.

Step 4: Update Non-Working Features

Broken links, buttons, or forms can frustrate visitors. To fix them:

  • Test all links: Make sure every button and link leads to the correct page.
  • Fix forms: If you have contact or sign-up forms, test them to ensure they work and that you receive submissions.
  • Clear errors: Remove any placeholders or unfinished sections.

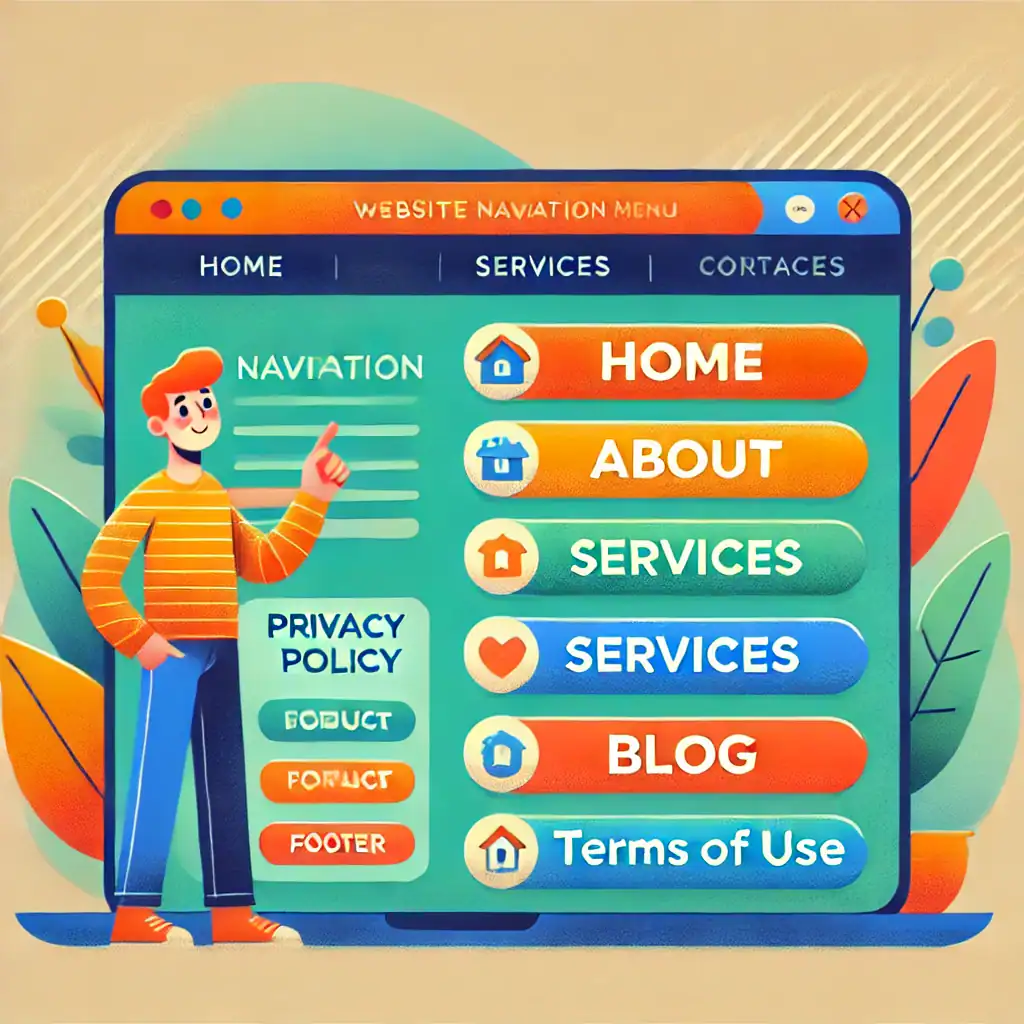
Step 5: Simplify Navigation

Your website’s menu and navigation should be straightforward and intuitive. Check:

  • Menu clarity: Are all menu items easy to understand? Remove any unnecessary or confusing links.
  • Order: Arrange items in a logical order, such as Home, About, Services, Blog, and Contact.
  • Footer links: Ensure your footer includes key information like privacy policies or terms of use.
fix issues

Step 6: Seek Feedback

Sometimes, a fresh set of eyes can catch things you’ve missed. Ask a friend, colleague, or even someone from your target audience to review your site. Ask for honest feedback about:

  • How easy it is to navigate?
  • Whether the design feels professional.
  • Any areas that look out of place.

Step 7: Use the Tools Available

Most website builders, like those offered by Wealthy Affiliate, include built-in tools to help you tweak and refine your site. Look for:

  • Customisation options for layouts, colours, and fonts.
  • Tutorials or help sections for troubleshooting issues.
  • Plugins or features for improving performance and design.

And Finally…

Fixing parts of your website that look out of place might take a little effort, but it’s worth it. A polished, professional site not only builds trust but also keeps your visitors coming back. Keep this guide handy as you review and adjust your website, and take your time to get everything right.

If you’re ever unsure where to start, remember that platforms like Wealthy Affiliate provide excellent training and tools to help you along the way.

Here’s a little transparency: My website contains affiliate links. This means if you click and make a purchase, I may receive a small commission. Don’t worry, there’s no extra cost to you. It’s a simple way you can support my mission to bring you quality content.