What is a Landing Page and How to Use Them

What is a Landing Page and How to Use Them

When you first explore the idea of setting up a website or starting an online project, you’ll likely hear about something called a “landing page.” If you’re unsure what that means, don’t worry – I’ll explain it clearly, step by step.

A landing page is an essential part of creating an online presence, and understanding it can set you on the right path to success.

Landing Page

What Is a Landing Page?

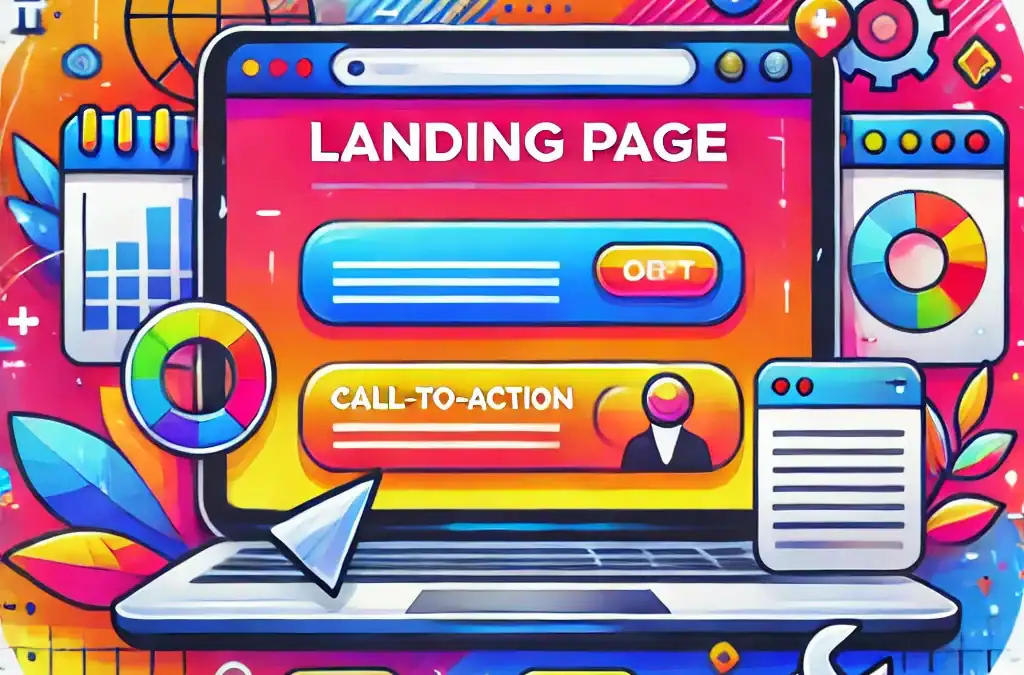
A landing page is a single webpage designed with a specific purpose in mind.

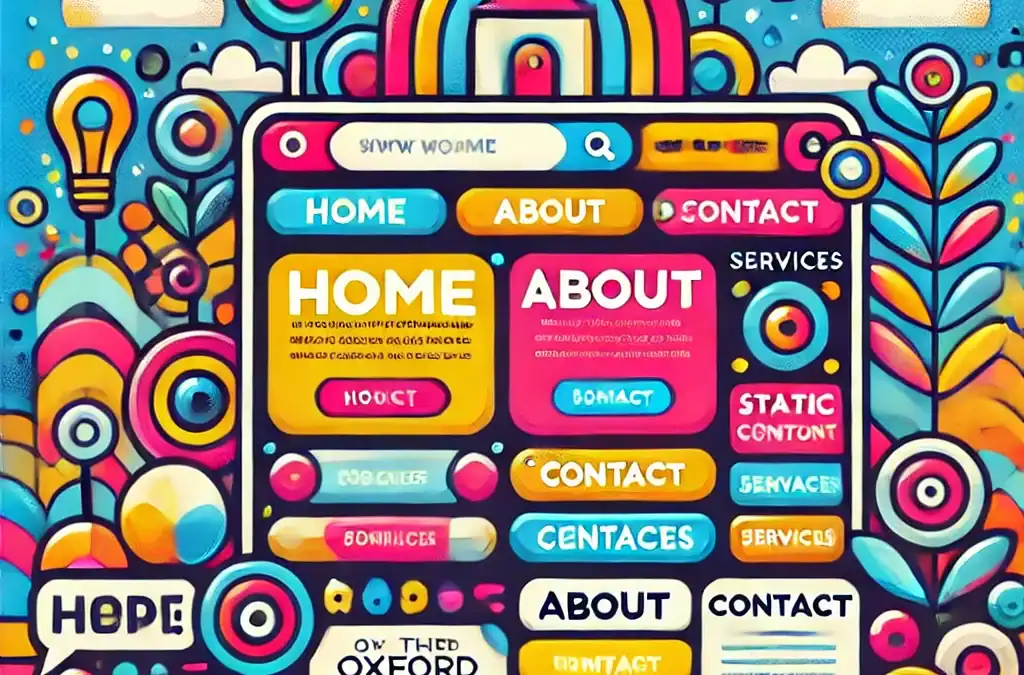
Unlike a full website with multiple pages and menus, a landing page focuses on one clear goal. This could be encouraging someone to sign up for a newsletter, download a free resource, or make a purchase.

Think of it as the welcoming mat to your online offering – a space where people can take action without getting distracted by extra links or clutter.

Why Are Landing Pages Important?

Landing pages are effective because they make things simple for visitors.

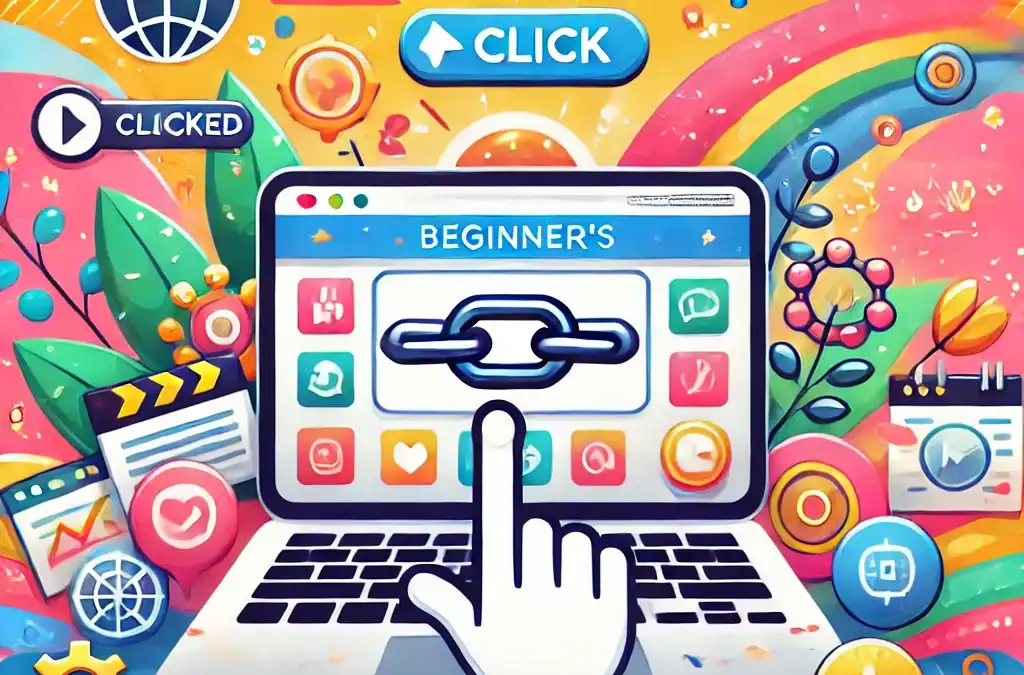
By presenting a single call-to-action (often abbreviated as CTA), such as “Click here to get started,” they guide people towards a specific result. This focused approach often leads to higher success rates compared to general web pages that may try to do too much.

For instance, if you’re launching an e-book or promoting a service, your landing page becomes the go-to space where interested visitors can learn more and take the next step.

How to Use Landing Pages Effectively

If you’re new to this, creating a landing page might sound tricky, but it’s easier than you think. 

Here’s how you can get started:

1. Decide on Your Goal

First, ask yourself: 

What do I want this page to achieve? 

Is it to collect email addresses, share information, or sell a product? 

Once you’ve identified the purpose, everything else will revolve around it.

2. Create Simple and Clear Content

The key to a great landing page is keeping it straightforward. Use plain language, write short sentences, and focus on what’s important. For example:

  • Explain the benefit: “Download my free guide to get started with gardening today.”
  • Keep instructions clear: “Enter your email below to receive your free guide.”

3. Include a Call-to-Action

Your CTA is the main action you want visitors to take. It might be a button that says:

  • “Sign Up Now”
  • “Download for Free”
  • “Get Started Today”

Make the button stand out with a bold colour and place it in an obvious spot on the page.

sign up

4. Use an Easy Design Tool

If you’re not a tech expert, there’s no need to worry. Platforms like Wealthy Affiliate or Canva provide user-friendly tools to design your landing page. These often include templates where you can add your text and images without needing coding skills.

5. Test and Improve

Once your landing page is live, see how it performs. Are people clicking your button or signing up? If not, you can adjust the text or layout to make it more engaging. 

Tools like Google Analytics can help track these results.

And Finally...

A landing page is a fantastic way to focus your website visitors’ attention on a single action that benefits both them and you. By understanding the basics and following these simple steps, you’ll be well on your way to creating a page that works hard for you.

Keep it clear, purposeful, and easy to navigate, and your landing page will become an invaluable part of your online presence.

Here’s a little transparency: My website contains affiliate links. This means if you click and make a purchase, I may receive a small commission. Don’t worry, there’s no extra cost to you. It’s a simple way you can support my mission to bring you quality content.

What Is a Hyperlink in an Image?

What Is a Hyperlink in an Image?

If you’re new to building a website, you might have come across the term “hyperlink” and wondered what it means, especially when it comes to images.

Don’t worry—this is a simple concept that can make your website more interactive and useful. Let me walk you through what a hyperlink in an image is and how you can use it to improve your website.

Hyperlink in image

What Is a Hyperlink?

A hyperlink is just a link that connects one part of the internet to another. For example, clicking on a hyperlink might take you to a different page on the same website or even to a completely different site.

These links are usually found in text, but they can also be added to images.

What Does It Mean to Add a Hyperlink to an Image?

Adding a hyperlink to an image means that when someone clicks on the image, they’re taken to another webpage. This can be very useful if you want to direct people to a product, another section of your site, or even an external resource.

Here’s an example: imagine you’ve added a picture of a book to your website. If you add a hyperlink to the image, clicking on it could take the person directly to a page where they can buy that book.

Why Use Hyperlinks in Images?

Using hyperlinks in images can be helpful for several reasons:

  1. Improves Navigation
    Hyperlinked images can guide your visitors to important parts of your website quickly. For instance, if you have a banner image advertising a special offer, linking it to the product page makes it easier for people to find it.
  2. Looks Professional
    Linked images often make a website look more polished and user-friendly. Instead of text-based links everywhere, clickable images create a more visual experience.
  3. Saves Space
    Sometimes, a single image with a link can say more than a paragraph of text. This is particularly useful for promotions or blog posts.

How Do You Add a Hyperlink to an Image?

Hyperlink in image

Adding a hyperlink to an image is straightforward. If you’re using a website builder like WordPress, here’s how you can do it:

  1. Upload the Image
    Start by uploading the image you want to use onto your website.
  2. Select the Image
    Click on the image to edit it. You’ll usually see an option to add a link.
  3. Insert the Link
    Paste the URL of the page you want the image to link to. For example, if it’s a product page, copy and paste that product page’s URL.
  4. Save Your Changes
    Always remember to save your work. Test the link to make sure it’s working properly.

f you’re not using a builder like WordPress, you can also add hyperlinks to images using basic HTML. This might feel more technical, but there are plenty of tutorials online to guide you through it.

Things to Keep in Mind

While image hyperlinks are a great feature, it’s important not to overuse them. Here are some tips:

  • Don’t Confuse Your Visitors
    If every image is clickable, people might not know what to expect. Only link images that are genuinely helpful.
  • Use Descriptive Text Too
    Not everyone will realise that an image is clickable. Add a short line of text below it to guide people.
  • Optimise for Accessibility
    Always add “alt text” to your images. This describes the image for people who use screen readers and also helps with search engine optimisation (SEO).

When I was learning about website building through Wealthy Affiliate, I realised how small details like hyperlinks can make a big difference. Wealthy Affiliate has great training on using tools like WordPress to make tasks like this easy. If you’re feeling unsure, you can always start with their beginner-friendly courses.

And Finally...

Hyperlinks in images might seem like a small feature, but they’re a powerful way to make your website more engaging and user-friendly. Whether you’re linking to another page, promoting a product, or sharing useful resources, clickable images can help your visitors find what they need quickly and easily.

Take your time experimenting with these features and see how they fit into your website. Once you feel more confident, you can explore even more advanced tools to make your site stand out. For now, focus on keeping things simple, clear, and helpful for your visitors. Happy website building!

How to Make My Own Website Free of Charge

How to Make My Own Website Free of Charge

Creating your own website might seem like an impossible task if you’re just starting out. But I promise, it’s not as complicated as it seems.

I’ll guide you step-by-step on how you can create a website completely free of charge using a platform called Wealthy Affiliate and a few other helpful tools.

With this approach, you don’t need technical skills or prior experience—just the desire to learn. Let’s get started.

Wealthy affiliate Free website

1. Why Do You Need a Website?

A website is like your online shopfront—it’s where people find you, learn about what you do, and connect with your services or products. Whether you’re starting a blog, showcasing your artwork, or selling products, a website gives you credibility and visibility.

Starting free means you can experiment without worrying about upfront costs. It’s perfect for beginners!

2. Meet Wealthy Affiliate: A Beginner’s Friend

Wealthy Affiliate offers a free Starter Membership that’s ideal for anyone who wants to create a website without spending a penny. Here’s why I recommend it:

  • Free Websites: With the Starter Membership, you can build up to two websites on a platform called SiteRubix.
  • Easy-to-Use Tools: It has a beginner-friendly website builder—no coding required.
  • Step-by-Step Training: Their lessons guide you through the process of creating, customising, and managing your website.
  • Supportive Community: If you get stuck, there’s a whole community ready to help.

3. How to Build Your Website with Wealthy Affiliate

Here’s exactly what to do:

Step 1: Sign Up for Free

Go to the Wealthy Affiliate website and sign up for their Starter Membership. You don’t need a credit card—just your email.

Step 2: Choose Your Website Name

Think of a name that reflects your idea or business. For example, if you love gardening, you might call it “Green Thumb Ideas”.

Step 3: Use SiteRubix to Build Your Website

Once inside Wealthy Affiliate, use their SiteRubix builder to create your website. You’ll pick a name, choose a design (called a theme), and click “Build My Website”. That’s it—you’re online!

Step 4: Customise Your Website

Add your own text, images, and pages. Wealthy Affiliate’s training will walk you through everything, including how to create an “About” page and a blog section.

4. Other Free Tools to Consider

While Wealthy Affiliate covers everything, you might want to explore other free tools to enhance your website:

  • Canva: Create beautiful graphics for your site.
  • Unsplash: Get free, high-quality images.
  • Google Analytics: Track who’s visiting your site and what they’re looking at.

5. Why Free is Just the Beginning

Starting for free is brilliant, but as you grow, you’ll likely want to invest in your website. Wealthy Affiliate offers premium options that include a custom domain (e.g., yourwebsite.com), advanced training, and more.

For now, though, the free Starter Membership gives you everything you need to learn and grow at your own pace.

And Finally…

Starting your own website free of charge isn’t just possible—it’s simple when you have the right tools and guidance. Wealthy Affiliate’s Starter Membership is a fantastic way to begin.

Take your time, explore, and enjoy the process of building something that’s entirely yours. A website opens doors to opportunities you might not have thought possible, and it all starts with just a few clicks.

If you’re ready to take the first step, why not try Wealthy Affiliate today?


Here’s a little transparency: My website contains affiliate links. This means if you click and make a purchase, I may receive a small commission. Don’t worry, there’s no extra cost to you. It’s a simple way you can support my mission to bring you quality content.

Do You Have to Do Anything Different to Post to Bing and Yahoo?

Do You Have to Do Anything Different to Post to Bing and Yahoo?

When starting your online journey, you may wonder if Bing and Yahoo require a different approach than Google when posting your website content.

It’s a valid question, especially as your goal is to reach as many people as possible.

Let’s break it down step by step, so you can feel confident about what’s needed.

Bing and Yahoo

Are Bing and Yahoo Really That Different?

The short answer is no, not very different.

Bing powers Yahoo’s search engine, so when you optimise for Bing, you’re also optimising for Yahoo. Bing and Yahoo together may not be as big as Google, but they still make up a significant part of online search traffic.

And here’s something important to keep in mind: Google isn’t the only search engine people use.

While Google dominates the market, Bing and Yahoo hold a steady share of users, and they tend to have a loyal audience. Many people prefer Bing or Yahoo because of their simple interfaces, integration with Microsoft products, or even just personal preference.

Ignoring these platforms means potentially missing out on thousands of visitors who are searching for the exact services or products you offer.

So, the work you’re doing for Google will usually work well for Bing and Yahoo too. However, there are a few things to keep in mind.

Step 1: Submit Your Website to Bing

Just like Google, Bing has a tool where you can tell them about your website. It’s called Bing Webmaster Tools. You’ll need to set up an account, but it’s free and straightforward.

Here’s how to do it:

  1. Go to Bing Webmaster Tools (search it on Bing if you’re unsure).
  2. Sign in with a Microsoft account (or create one if you don’t have it).
  3. Add your website by entering its URL.
  4. Verify your ownership of the website using one of the methods they suggest.

This process helps Bing and Yahoo find and index your website faster. Think of it as giving them a heads-up that your site exists.

Step 2: Adjust for Bing’s Preferences

Bing and Yahoo don’t require wildly different strategies, but they do have their quirks. Here’s what they tend to favour:

  • Clear, well-structured content: Ensure your site is easy to navigate, with clear headings and subheadings.
  • Keywords in a natural way: Bing likes content that includes keywords naturally without stuffing them.
  • Social media signals: Bing pays attention to social media engagement, so sharing your content on platforms like Facebook and Twitter can help.

Step 3: Focus on Quality Backlinks

While backlinks are essential for all search engines, Bing puts extra importance on high-quality links. These are links from trusted, well-established websites to your own. Build relationships with other website owners and create valuable content they’d want to link to.

Step 4: Local SEO

If your website serves a local audience, Bing is known for being particularly effective in showing local search results. Add your business details to Bing Places for Business to ensure you’re visible in local searches.

Do I Need to Post My Content Differently for Bing and Yahoo?

Not really.

As long as you’re creating valuable, engaging content with basic SEO practices (keywords, headings, easy-to-read structure), you’re already covering the essentials.

And Finally…

It’s easy to get overwhelmed by trying to cater to multiple search engines, but the good news is that you don’t need separate strategies for Bing and Yahoo.

Focus on creating high-quality content, submit your website to Bing Webmaster Tools, and remember a few key preferences that Bing has.

Your online journey is all about small, steady steps. Taking the time to understand these tools will help your business grow and reach more people. Keep going—you’re building something great!

Here’s a little transparency: My website contains affiliate links. This means if you click and make a purchase, I may receive a small commission. Don’t worry, there’s no extra cost to you. It’s a simple way you can support my mission to bring you quality content.

What’s the Difference Between Pages and Posts in WordPress?

What’s the Difference Between Pages and Posts in WordPress?

When starting your website journey, understanding how WordPress works can feel a little overwhelming.

One common question I often hear is, “What’s the difference between pages and posts?”

If you’re wondering the same thing, don’t worry—I’m here to explain it in simple terms.

Pages: The Foundation of Your Website

Pages are like the backbone of your website. They are used for content that doesn’t change often and serves as the core structure of your site. Think of pages as the essential parts of your website that people will regularly visit to understand what your site is about.

Here are some common uses for pages:

  • Home Page: The first thing visitors see when they land on your site.
  • About Page: A space to tell people about you or your business.
  • Contact Page: Information on how visitors can reach you.
  • Services or Products Page: Details about what you offer.
pages and posts

Pages are typically static, meaning the content remains the same unless you update it. They don’t appear in a blog feed and are usually organised in a menu or navigation bar for easy access.

Posts: The Heartbeat of Your Blog

Posts, on the other hand, are used for dynamic content like articles, updates, or news. If you plan to blog or regularly publish new content, posts are what you’ll use.

Here are some characteristics of posts:

  • Date-Sensitive: Posts are organised by date, with the newest content appearing first.
  • Categories and Tags: These help organise your posts and make them easier for readers to find.
  • Comments Section: Posts typically have a comment feature where visitors can leave feedback or ask questions.
  • Feeds: Posts show up in your blog feed or RSS feed, keeping your audience updated.

Think of posts as the ongoing conversation you’re having with your readers. Each new post adds to the overall value of your site.

Key Differences Between Pages and Posts

To make it clearer, here’s a simple comparison:

Feature

Pages

Posts

Purpose

Static, timeless content

Dynamic, regularly updated content

Organisation

Standalone, added to menus

Organised by date, categories, tags

Interaction

No comments or social sharing

Allows comments and sharing

Display

Visible in menus or links

Appears in blog feeds or archives

Which Should You Use?

post and page

When building your website, you’ll likely need both pages and posts. Use pages for the key areas of your site that people will always need access to, like your home page or services page. Use posts for any content you want to update regularly, such as tips, news, or blog articles.

If you’re unsure where to start, think about what you want your website visitors to do. Do you want them to learn about your business? A page is the way to go. Want to share regular updates? That’s where posts shine.

And Finally…

Understanding the difference between pages and posts is one of the first steps in creating a professional and well-structured website. Take your time to plan what content belongs on pages and what fits better as posts. WordPress gives you the flexibility to create a site that works for your goals, so start small and build confidence as you go.

There’s no rush. Every click, every update, and every new piece of content you publish is a step forward on your journey. Keep learning, keep creating, and soon, your website will become a space you’re proud of!

Here’s a little transparency: My website contains affiliate links. This means if you click and make a purchase, I may receive a small commission. Don’t worry, there’s no extra cost to you. It’s a simple way you can support my mission to bring you quality content.