How To Create A Contact Page

How To Create A Contact Page

Picture this: someone’s browsing your site, enjoying your content, and they want to reach out. What do they need? A solid contact page. In this post, I’ll walk you through how to create a contact page that feels friendly, clear, and genuinely useful.

This isn’t just about listing a phone number or email. A contact page builds trust. It shows that you’re open, real, and ready to connect. Think of it as the friendly front door to your website.

Even big names like Apple and the BBC make sure their contact pages are easy to find and use. It’s a sign of professionalism — and a great way to help visitors feel comfortable reaching out.
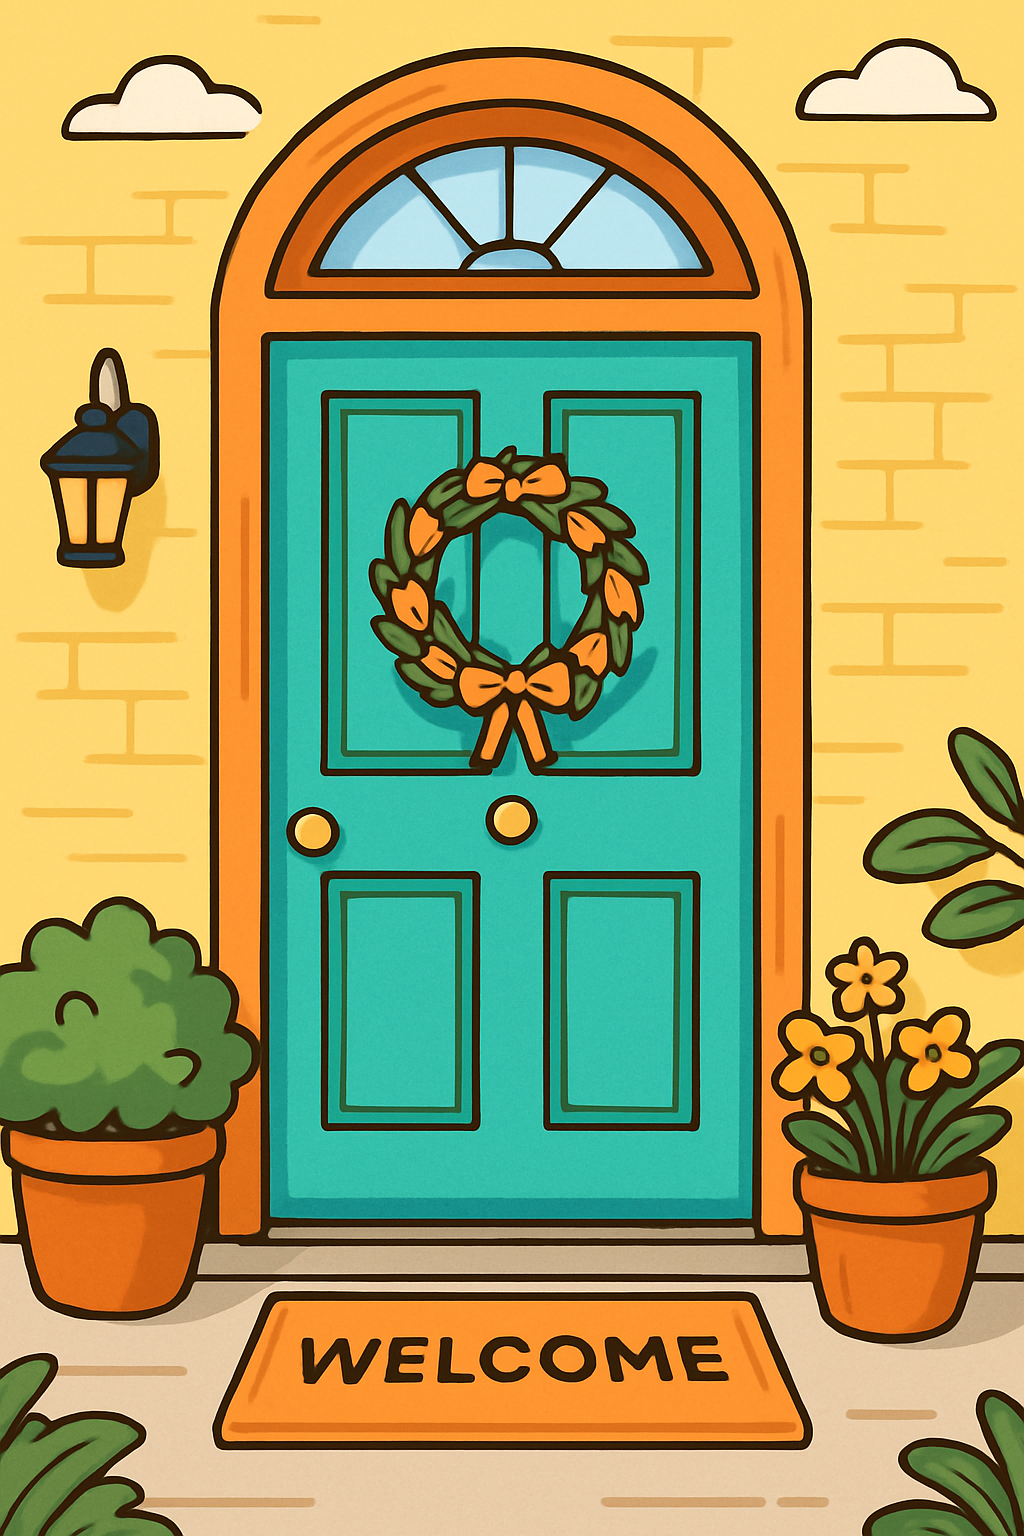
A symbolic open door to represent website contact|how to create a contact page

What to Include on Your Contact Page

  1. Basic Details Your name, email address, and phone number (if you want to share it). Keep these clear and easy to spot.
  2. A Simple Contact Form Forms let people send you a message without needing to open their email program. Just ask for a name, email address, and message — keep it short and friendly.
  3. Visual Clarity Using icons (like a small phone or envelope) and plenty of space helps make everything easier to read.
  4. Accessibility Make sure your page works well on phones and is easy for screen readers to understand. If someone’s using a keyboard or assistive tech, they should be able to use your form without trouble.
  5. A Quick Note on Privacy Let your visitors know their message will be treated with care. A short line like: “We won’t share your details with anyone” goes a long way.

Tips for a Friendly and Usable Contact Page

Make it easy to find. Your contact page should be in your main menu or clearly linked in the footer. Use a straightforward label like “Contact” — no need to get fancy.

Keep it tidy. Don’t crowd the page with too much information. Use headings, white space, and plain language.

Test it yourself. Send yourself a message from your own form. Ask a friend to try it too. If it feels easy, you’re on the right track.

How to Create a Contact Page (Tools for Beginners)

If you’re using WordPress or a similar site builder, there are simple tools that do the hard work for you. Many themes come with a ready-made contact page you can edit.

Plugins like WPForms or Contact Form 7 can help you build a form without needing any coding skills. Most are free with upgrade options.

If you’re a member of Wealthy Affiliate, there are tutorials to walk you through setting up your contact page using the SiteRubix builder. It’s beginner-friendly and well supported.

You can read my review of Wealthy Affiliate Here

How Do You Know If It’s Working?

You don’t need fancy tools to start.

  • Try sending a message to yourself.
  • Ask a friend to use the form and see how it feels.
  • If people are getting in touch — it’s working!

Later on, if you’d like to see how many people visit your contact page, tools like Google Analytics can help. But for now, simple is best.

How To Create A Contact Page | Contact icons

And Finally…

Do you have a contact page on your website yet?

If so, how easy is it to find and use? If not, today’s a great day to add one. A good contact page is more than just a form — it’s a friendly welcome sign for your readers.

Have a look at a few sites you admire. What do you like about their contact pages? I’d love to hear your thoughts, or if you’ve got questions about creating your own.

Let’s make it easier to connect.

Here’s a little transparency: My website contains affiliate links. This means if you click and make a purchase, I may receive a small commission. Don’t worry, there’s no extra cost to you. It’s a simple way you can support my mission to bring you quality content.

How to Add a Menu to Your Website (A Simple Guide for Beginners)

How to Add a Menu to Your Website (A Simple Guide for Beginners)

If you’ve ever landed on a website and thought, “Where do I start?”, chances are the site didn’t have a clear menu. And if you’re building your own site — especially for the first time — this guide will show you exactly how to add a menu to your website that makes sense, feels friendly, and helps visitors move around with ease.

Whether you’re blogging, building a digital shop, or simply sharing something meaningful, a clear menu is essential. 

What Is a Website Menu, Really?

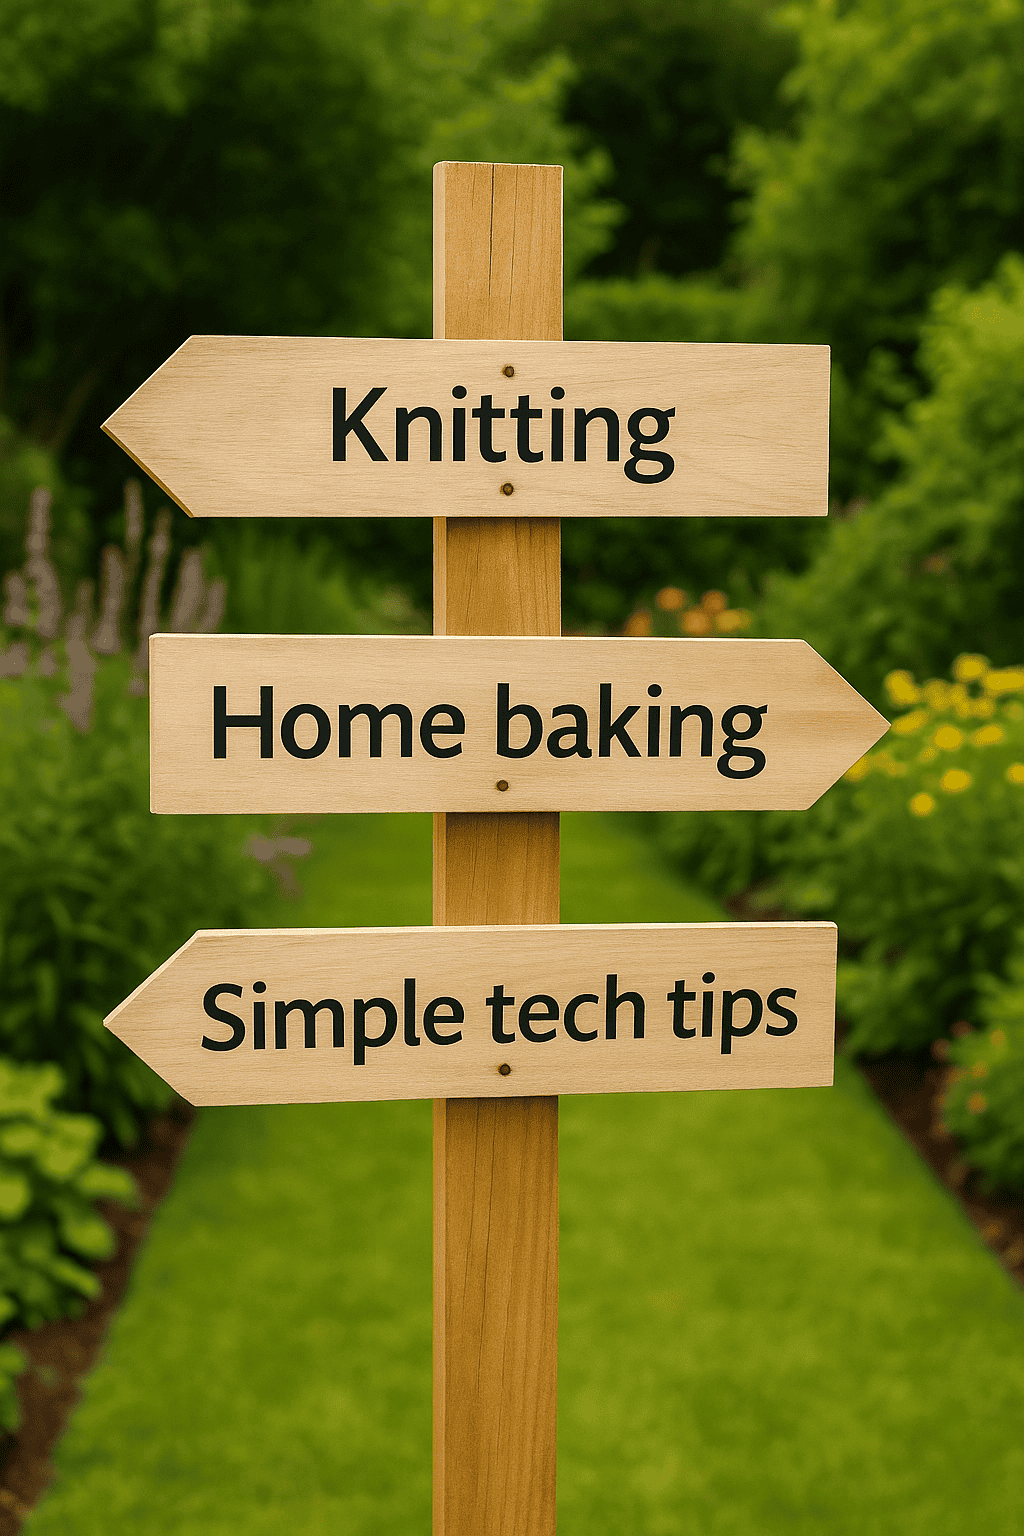
Think of your website menu as a navigation tool — like a shop directory or a signpost in a garden centre. It helps visitors find their way without getting overwhelmed or lost.

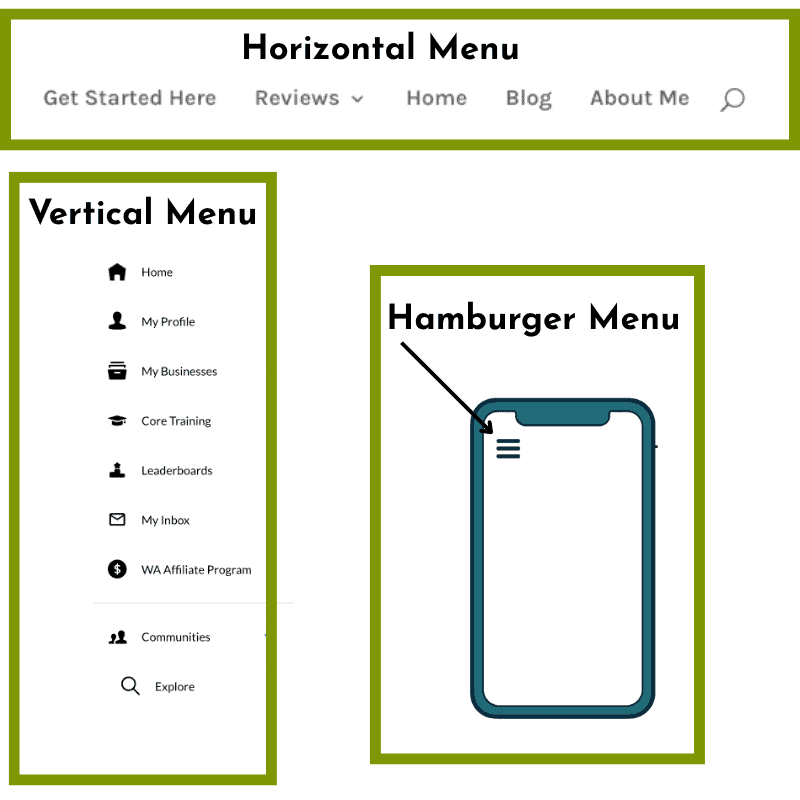
Menus typically live at the top of your page (horizontal),

on the side (vertical),

or tucked into a corner on mobile devices (like the little “hamburger” icon).

Depending on how your site is built, menus can reveal dropdown options, highlight popular pages, or quietly guide your visitor from post to post.

They don’t need to be flashy — but they do need to be clear.

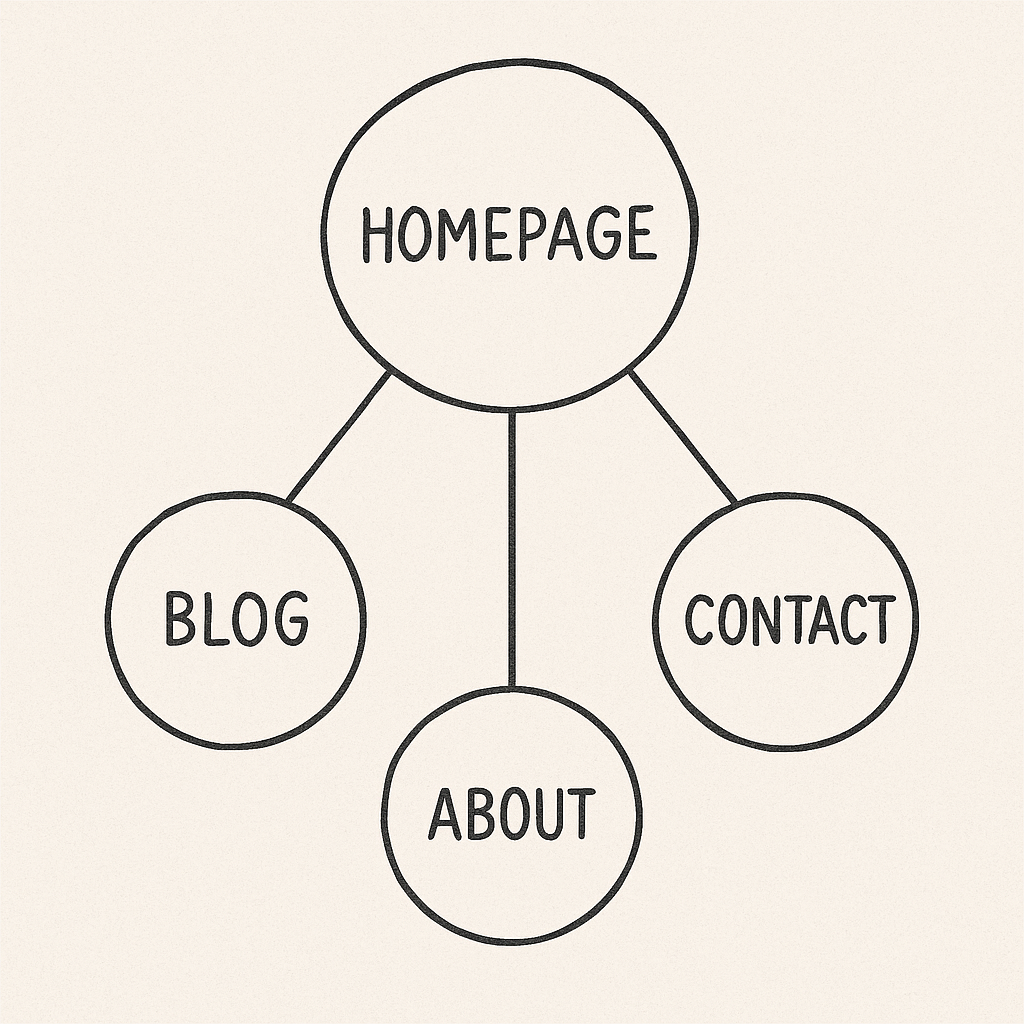
How to add a menu t your website |visual examples of horizontal, vertical, and dropdown website menus<br />

Step-by-Step: How to Add a Menu to Your Website

Let’s take this slowly. Here’s how to add a menu to your website in a way that feels purposeful — not rushed or chaotic.

1. Plan First

Start by listing out your main content areas. Ask yourself:

  • What are visitors coming here for?

  • What do I want them to find quickly?

Group related topics together. Keep it simple — no more than 5–7 top-level menu items is a good rule of thumb.

How to add a menu to your website| :menu planning

2. Match the Menu to Your Site’s Purpose

A blog often works best with a horizontal menu that includes “Home,” “Blog,” “About,” and “Contact.”
If you’re running a store, dropdowns may help organise categories like “Shop by Topic” or “Bundles.”

Sites built through platforms like Wealthy Affiliate (which includes WordPress hosting and support) often make this process easier, as they provide beginner-friendly tools to create and manage menus — without any code.

3. Build the Menu (Tools You Can Use)

  • WordPress: Go to Appearance > Menus
    Create a new menu, name it something clear (like “Main Menu”), and start adding pages.
  • Divi Users: Use the Divi Theme Builder to style your menu and preview it across devices.
  • Canva (for visual mockups): If you want to plan the look before building, a simple sketch can help.

Click on this image to watch a short video to show how to add a menu to your website.

How To. add a menu to your website..

If you’re not using a platform like WordPress, you may need to explore tutorials for your builder (e.g. Wix, Squarespace), but the concept remains the same.

4. Choose a Style That Suits Your Audience

For your readers, clarity is kindness.

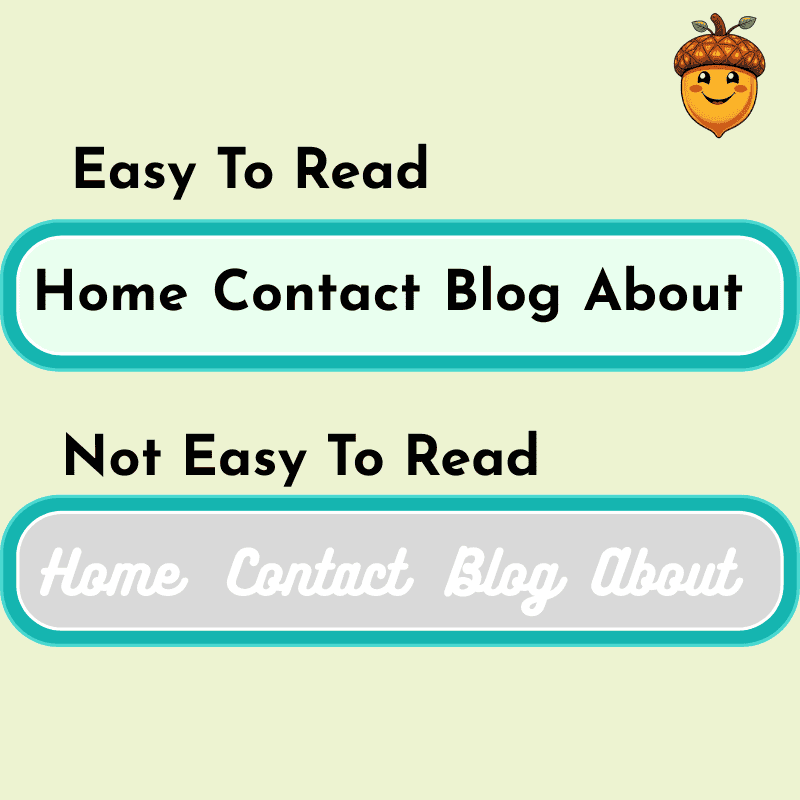
  • Stick with strong contrast between text and background
  • Use clear fonts, like Arial or Georgia
  • Avoid too-small dropdowns — they’re fiddly on mobile

Accessibility matters. Your site should be easy to explore for everyone — including those using screen readers or keyboard navigation.

How To Add A Menu To Your Website | easy to read Horizontal Menu

5. Test and Refine

Once you’ve added your menu:

  • Test it on a desktop, tablet, and mobile phone

  • Click every link — does it go where it should?

  • Ask a friend or family member to try it (ideally someone not “techy”)

Adjust anything that feels clumsy or confusing. A few tweaks now save lots of visitor frustration later.

Your Menu: Best Practices

Here’s how to keep your site menu working for you — not against you.

  • Use plain language: “About Me” works better than “Who Am I?”

  • Keep it visible: Don’t make visitors hunt for it

  • Link internally: If you write a new blog post, make sure it fits somewhere in your navigation

  • Avoid clutter: Too many menu items create decision fatigue

And yes — make sure your menu supports your website’s goals. Whether you’re helping people learn, shop, or simply read along, your menu should make that easier.

You might also enjoy this beginner-friendly overview of website menus from WPBeginner — written in a straightforward way with visual aids that align with your learning style.

And Finally…

Have you created a menu you’re proud of? Or perhaps you’re still unsure what to include?
Tell me in the comments — or share what you found most confusing when first learning how to add a menu to your website.

Your experience might help someone else take that next step, too.

What Does Niche Really Mean?

What Does Niche Really Mean?

(And Why It’s Not As Complicated As It Sounds)

Ever hear someone say they’re looking for a “niche“?

It’s one of those words that pops up in online business conversations and blogging advice, often without much explanation. So, what does niche really mean?

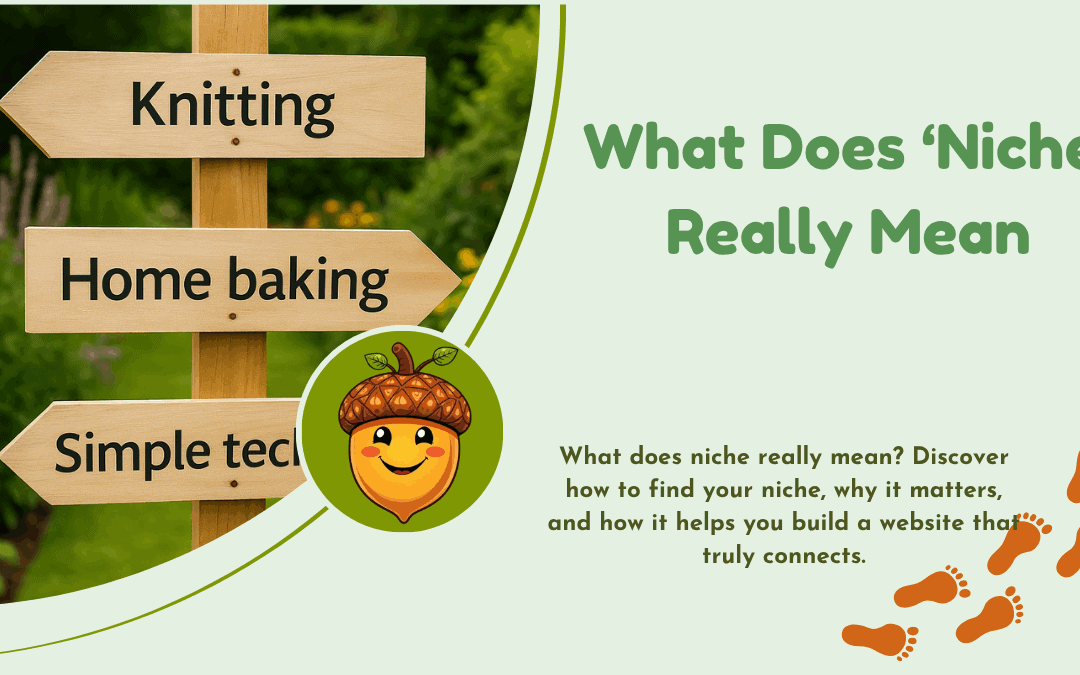
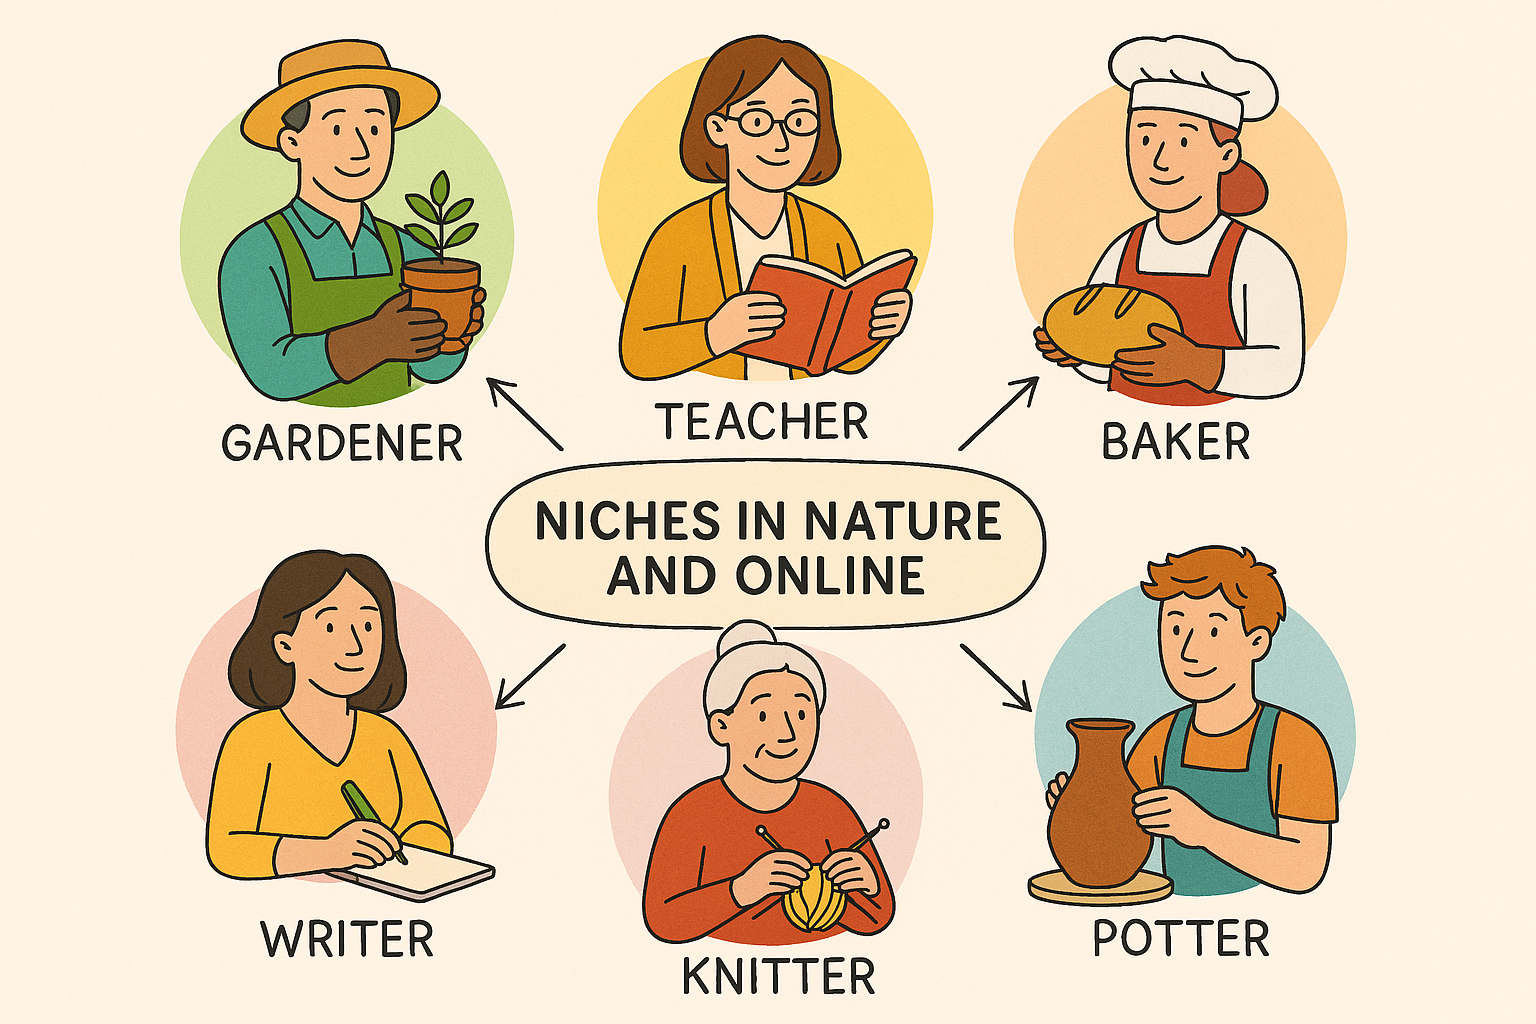
What does niche really mean | niche ideas

At its heart, a niche is simply a focused topic or interest area. Think of it as the part of the online world where your content fits naturally and helps people with specific needs. For beginners building a website, understanding this can make everything feel a little more grounded.

The Origins of the Word "Niche"

The word “niche” originally comes from ecology, where it describes how an organism fits into its environment. Over time, it was borrowed by the world of business to describe how people or products fit into a market.

In the context of websites and blogging, your niche is your digital space. It’s where you can share knowledge, offer support, or spark connection—without needing to appeal to everyone.

Why Finding Your Niche Matters

What does niche really mean for you? It means you don’t have to do everything or talk to everyone. Instead, you focus on a space where you can genuinely help.

People are overwhelmed by general content. A well-chosen niche is like a quiet welcome sign that says, “This is for you.” It helps you:

  • Build trust more quickly
  • Create clearer content
  • Be found by people who are actually searching for what you offer

At Wealthy Affiliate, this idea is introduced early in the training. You’re guided to reflect on your interests and experience, not just what’s “trending.”

What does niche really mean | niche signpost

What Does Niche Really Mean? (It’s Not About Being the Best, Just Being Helpful)

Many people think choosing a niche means you need to be an expert from day one. Not true. It simply means choosing a focus so people can find and understand you.

Your niche might be:

  • Teaching beginners how to grow herbs
  • Sharing your journey learning about personal finance in midlife
  • Creating calm digital spaces for older learners

The magic is in the specificity and sincerity. You don’t need to have all the answers. You just need a steady voice and a willingness to help.

How to Discover and Grow Into Your Niche

Start by asking:

  • What do I enjoy learning or talking about?
  • What have I figured out that others might be struggling with?
  • What do people often ask me for help with?

Then test gently. Blog about a few related topics. See what feels good to write and what resonates with others. Your niche will reveal itself through doing.

Consistency is more important than polish. Share your insights, even if they feel small. Step by step, you become a trusted voice.

And Finally...

Have you ever struggled to choose a focus for your website or blog?

Or maybe you’re still not quite sure what your niche might be. I’d love to hear what you’re exploring.

Leave a comment and share one topic or interest you keep returning to—you might be closer to your niche than you think.

Here’s a little transparency: My website contains affiliate links. This means if you click and make a purchase, I may receive a small commission. Don’t worry, there’s no extra cost to you. It’s a simple way you can support my mission to bring you quality content.
How to Add Tags and Categories in WordPress

How to Add Tags and Categories in WordPress

Are you puzzledhow to add tags and categories in WordPress? You’re not alone. These two little helpers are like organising folders and sticky notes that help your website run smoothly—and make life much easier for your readers.

In this post, you’ll learn exactly how to use tags and categories in WordPress, when to use them, and how they can gently improve your website’s structure, clarity, and even your visibility in search engines.

Categories vs Tags: What’s the Difference?

Categories and tags both play key roles, but each has its own purpose.

  • Categories are your broad topics – the main sections that help group your posts together in a way that makes sense to your readers. They group your posts into larger sections. Think of them as the chapters in a book. For a blog about home cooking, your categories might be: Recipes, Kitchen Tips, or Reviews.
  • Tags, on the other hand, zoom in on specifics. They act like the index at the back of the book. A soup recipe post might have tags like winter meals, vegetarian, batch cooking, or leftovers.

Use categories to create the main structure of your blog, and tags to highlight smaller topics or themes that pop up often.

How to Add Tags and Categories in WordPress (Step by Step)

Whether you’re using the newer block editor (Gutenberg) or the older Classic editor, the process is similar:

Click on the image to watch a video to accompany adding categories and tags to posts.

How to add Tags and Categories in WordPress
  1. Go to Posts in your WordPress dashboard.
  2. Click Add New or open an existing post.
  3. On the right-hand side, look for the Post settings panel.
  4. Under Categories, tick an existing one or click Add New Category.
  5. Under Tags, type words or short phrases that describe key elements of the post, separated by commas.
  6. Update or publish your post.

Tip: Stick to one category per post where possible. It keeps your content structure neat. Use 3–5 tags that genuinely reflect the content.

For more technical guidance, WordPress has a simple support page here. 

Organising Content with Your Audience in Mind

When thinking about how to use tags and categories in WordPress, keep your audience front and centre. It’s a bit like hosting a calm, friendly gathering: you want guests to feel welcome and know where to go next.

Imagine landing on a website with no clear structure. It’s frustrating. But a well-organised blog, with clearly labelled topics and consistent tags, lets readers find what they want—and often something extra they didn’t know they were looking for.

Using tags and categories well helps:

  • Build clusters of related content
  • Encourage longer visits and repeat readers
  • Make your site feel easy and intuitive to explore

Think of it as laying out signposts that quietly guide visitors around your website.

Maximising SEO and E-E-A-T with Tag and Category Strategy

Here’s the behind-the-scenes magic: how to use tags and categories in WordPress doesn’t just help humans. It helps search engines too.

  • Categories show the structure and main topics of your site. Search engines use this to understand how your content is organised.
  • Tags highlight important subtopics and keywords.

This tidy structure helps Google crawl your site more efficiently. It improves your site’s E-E-A-T signals—expertise, experience, authoritativeness, and trustworthiness—by showing a clear and consistent focus.

A gentle word of caution:

Avoid over-tagging. More isn’t better here. Too many tags can confuse both readers and search engines. Stick with a handful of tags that match what your post is genuinely about.

And Finally...

Using tags and categories in WordPress is one of those simple-but-powerful skills that quietly makes your blog feel more polished and professional. It helps readers find their way, boosts your credibility with search engines, and lays a gentle foundation for long-term growth.

If you’ve never really paid much attention to them, that’s okay. Today is a good day to begin. Go back to a few old posts and start adding helpful categories and tags. And as you write new content, take a moment to choose them with intention.

It’s a small step—but one that can make your entire site feel calmer, clearer, and more welcoming.

Have you been using tags and categories on your site?

I’d love to hear how you approach organising your content. Do you have a system that works well for you, or is this something you’re just starting to explore?

Feel free to share your thoughts or questions in the comments — I read every one.

What I Wish Someone Had Told Me About Starting a Website in Midlife

What I Wish Someone Had Told Me About Starting a Website in Midlife

I didn’t expect it to be easy — but I also didn’t expect it to feel quite so… quiet.

When I began starting a website in midlife, I brought with me a lifetime of experience, a willingness to learn, and a real desire to help others find their footing online. What I didn’t bring — and what no one really warns you about — is the resilience you need to keep going when no one’s watching.

Because for a while, no one is watching.

Not really.

You write posts that you hope will help.
You design pages that you want to feel welcoming.
You create a free guide, polish your site, even add a video or two…

And then… silence.

No comments.
No clicks.
No “Well done, you.”
Just the echo of your own effort.

It Feels Personal — But It Isn’t

Here’s the part I’ve come to understand (slowly, reluctantly):

That silence doesn’t mean you’re failing.
It means you’re in the quiet middle — the bit no one talks about.

The time between starting and being seen.

The space where most people give up — not because they lack something, but because it feels like no one’s coming.

But I’m still here.
Still writing.
Still building — post by post, step by step.

Because I know someone out there needs what I’m creating.
They just haven’t found it yet.

If You’re in That Quiet Middle Too…

…please know you’re not alone.

This work you’re doing matters — even when the world is slow to respond.

You’re not behind.
You’re not failing.
You’re just building something real.

And that always takes time.

And Finally…

I’ve stayed with Wealthy Affiliate for over twelve years — sometimes actively, sometimes just quietly in the background. And what’s brought me back again and again is the structure, the tools, and the space to figure things out at my own pace. It’s not magic. It’s not a shortcut. But it’s been a steady foundation — and for that, I’m grateful.  It helps me feel a little less alone in this online world.

Have you ever hit that point where you questioned whether to keep going?
I’d love to hear your story — or even just a quiet “I get it.”

Let’s not do this alone, even if it feels that way sometimes.