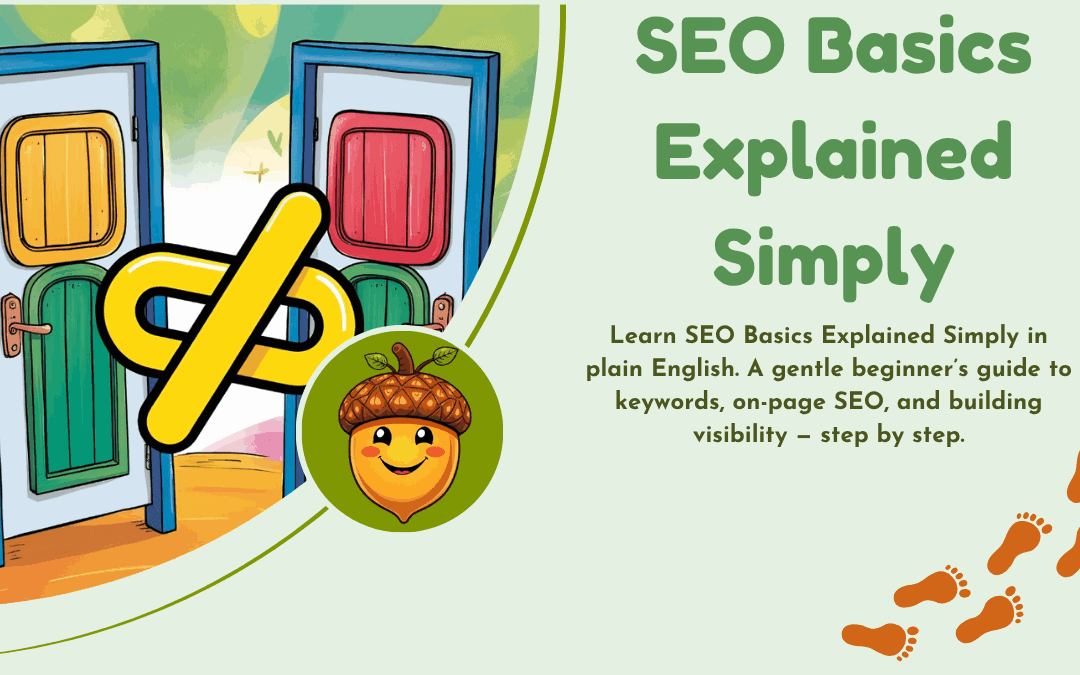
SEO Basics Explained Simply
SEO Basics Explained Simply is all about helping search engines — like Google — understand what your website is about. When Google understands your content clearly, it becomes easier for people to find you when they search for something you teach, explain, or write about.
Think of it like putting clear labels on the drawers in a cupboard.
When the labels make sense, people can find what they need without fuss.
For beginners, SEO can look a bit mysterious. There are new terms, new tools, and plenty of conflicting advice. But once you understand the essentials, SEO Basics Explained Simply becomes exactly that — simple. You learn how a few small changes help your website grow quietly in the background while you focus on writing helpful content.
And the best part?
SEO builds steadily. You don’t need to rush or “do everything”. You just need to take it step by step.
What Is SEO?
SEO stands for Search Engine Optimisation. It’s the practice of making your website clearer, easier to understand, and more helpful — for both search engines and real people.
When someone types a question into Google, SEO helps your website appear as a possible answer. Over time, this increases your visibility and helps new readers discover your work.
A calm reassurance:
You don’t need to be technical to make good progress. Most of SEO Basics is about writing clearly, choosing everyday words your audience already uses, and keeping your website tidy.

If you’d like to learn more about Google and SEO this article is written in plain language : SEO Starter Guide
Keywords — The Words Your Readers Actually Type
Keywords are simply the words or phrases a person types into Google when they’re looking for information.
For example:
- “When is Easter this year?”
- “How to grow healthy roses?”
- “What is SEO?”
When you use the same phrase naturally in your writing, it helps Google match your content with the right audience.
This is one of the easiest parts of SEO Basics Explained Simply — listening to how real people speak and using those same everyday words in your posts.
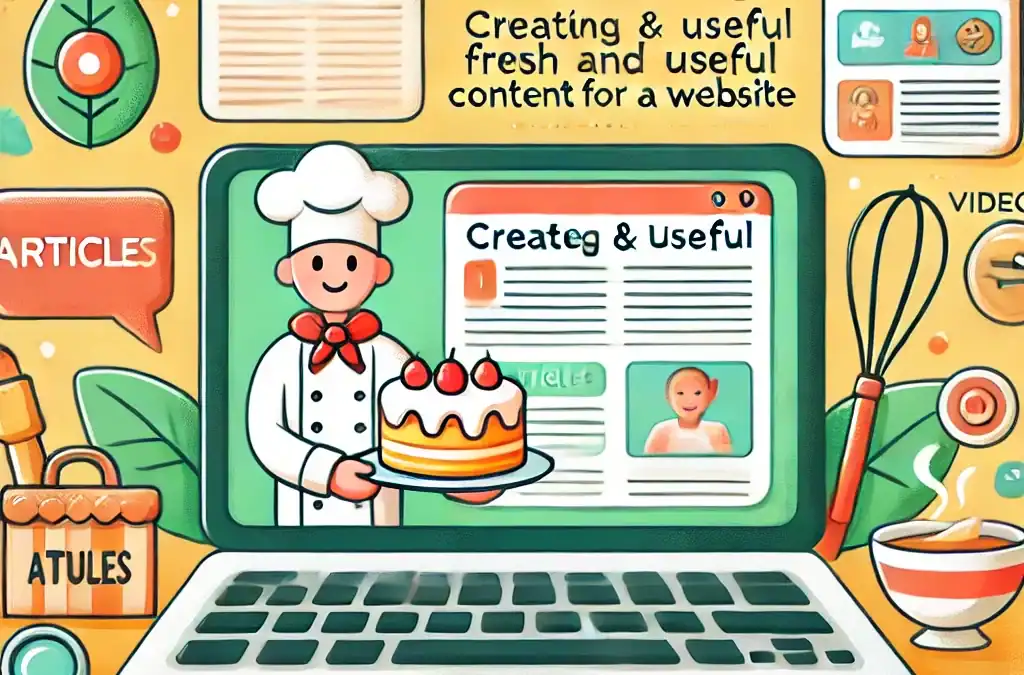
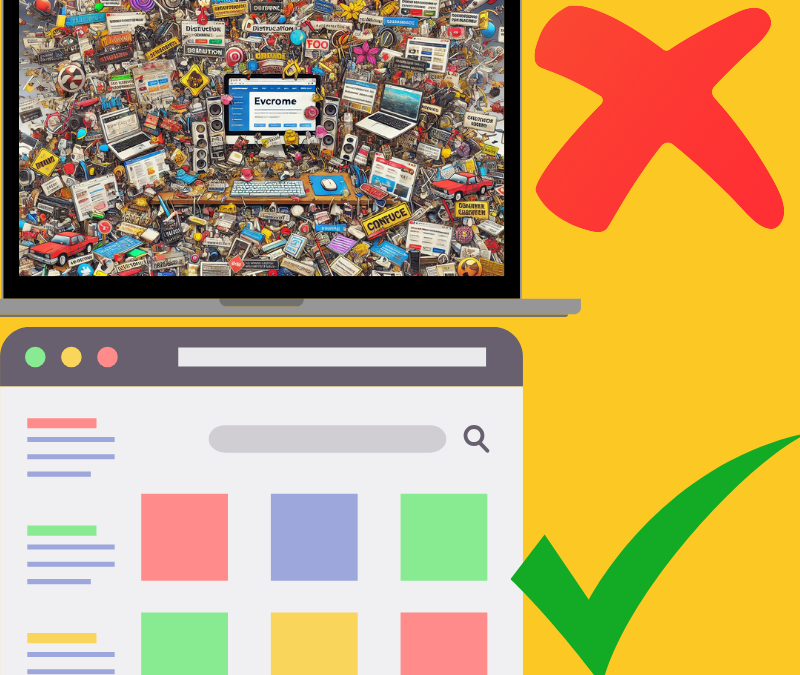
On-Page SEO — Small Improvements On Your Pages
On-page SEO refers to little things you can do on each page or blog post to make it clearer for your reader and easier for Google.
This includes:
- using headings to break up long text
- short, readable paragraphs
- adding your keywords in natural places
- clear links to other posts on your site
- helpful images with simple alt text
These improvements help visitors feel more confident, and they help search engines understand your content without any pressure or fuss.
Off-Page SEO
Off-Page SEO is simply the trust you build over time.
If another website links to one of your articles, it’s a bit like them saying:
“This is helpful — you should read this.”
These links (often called “backlinks”) help Google see your site as trustworthy.
You don’t need to chase them.
Just keep writing helpful content — the right people will find you.

Technical SEO — Simple Website Health
Technical SEO sounds complicated, but for absolute beginners it mostly means:
- your website loads reasonably quickly
- it works well on phones
- no broken links
- tidy menus and clear navigation
You don’t need to touch code. Most of this is managed by your theme, hosting, or tools like Wealthy Affiliate’s SiteHealth, which checks loading speed, mobile friendliness, and general site performance in the background.
A Gentle Way To Begin Your SEO Journey
SEO Basics becomes much easier when you begin with small steps:
1. Choose one keyword for each post
Ask: What might my reader type into Google when looking for this?
2. Write clearly
Use short sentences, everyday words, and real examples.
3. Add a couple of internal links
Link to another post that naturally supports the topic.
4. Check once a month
Using free tools like Google Search Console shows you which pages are beginning to be found — no need to check constantly.
And Finally…
I’d love to know how this explanation felt for you.
Was anything still unclear, or would you like a deeper explanation of a particular part? Your questions help me shape future guides in a way that truly supports beginners, so please feel free to leave a comment or ask away.
Here’s a little transparency: My website contains affiliate links. This means if you click and make a purchase, I may receive a small commission. Don’t worry, there’s no extra cost to you. It’s a simple way you can support my mission to bring you quality content.