How To Start A Blog In 30 Minutes

How To Start A Website In 30 Minutes

Choosing the Perfect Domain Name

Picking your blog’s domain name is an exciting first step—it’s like naming your new business or passion project. Your domain is your blog’s web address, such as www.getonlinestepbystep.com. It’s the identity people will associate with your website, so getting it right is important.

When choosing a domain name, simplicity is your best friend. Aim for something short, memorable, and relevant to your site’s niche. Avoid special characters like hyphens or numbers, as they can make your domain harder to share or remember. Imagine you’re starting a healthy cooking blog—something like cooksmartwithsam.com is catchy, easy to spell, and gives visitors a clear idea of what to expect.

Remember, your domain name is unique to you.  There won’t be another one the same.  It may be that the difference could be in the .com or .co.uk.  Or it could be a hyphen or capital letter may be the difference.  Finding the perfect domain name is important so don’t rush it.  Always check the spelling before you buy  and have a good look at how it looks in a domain name.  For example the pen website ‘Pen Island’ looks very different as a domain name. Try it!

Finding and Registering Your Domain Name

To get your perfect domain, tools like Wealthy Affiliate’s SiteDomains make the process effortless. Simply head to the SiteDomains section, type in your dream name, and check what’s available. You’ll see options with different extensions like .com, .net, or .org—choose the one that fits your blog’s purpose best.

Once you’ve picked ‘the one,’ registering it takes only a few clicks. Wealthy Affiliate makes this process seamless by combining domain registration, hosting, and website-building tools, all under one roof. But don’t worry if you prefer to use a standalone service like Namecheap or GoDaddy—those are great options, too. Just remember, if you go this route, you’ll need to connect your domain to your website hosting platform after registering it.

Creating Your Blog Space

Now that you have your domain, it’s time to give it a home online—this is where website hosting comes in. Hosting provides the digital space where your blog’s files and content live, so visitors can access your site anytime.

Wealthy Affiliate simplifies this process by offering hosting as part of their membership. With their SiteRubix tool, you can get your blog live in minutes. Just follow these steps:

  1. Log in to Wealthy Affiliate and navigate to SiteRubix.
  2. Select your registered domain or use a free SiteRubix subdomain if you’re practising.
  3. Choose a blog layout (WordPress comes pre-installed, so no extra steps here).
  4. Click ‘Build Website,’ and your blog will be live almost instantly.

What makes Wealthy Affiliate special is how it saves you from juggling multiple platforms. Normally, you’d need to register your domain, find a hosting provider, and install WordPress separately. With Wealthy Affiliate, it’s all done in one seamless workflow, saving you time and effort.

Installing Helpful Plugins

Plugins are tools that add extra functionality to your site. Here are two useful ones to start with:

  • SEO Framework: This helps optimise your blog for search engines, improving its visibility so people can find your content more easily.
  • Akismet: A simple tool for blocking spam comments, keeping your blog clean and professional.

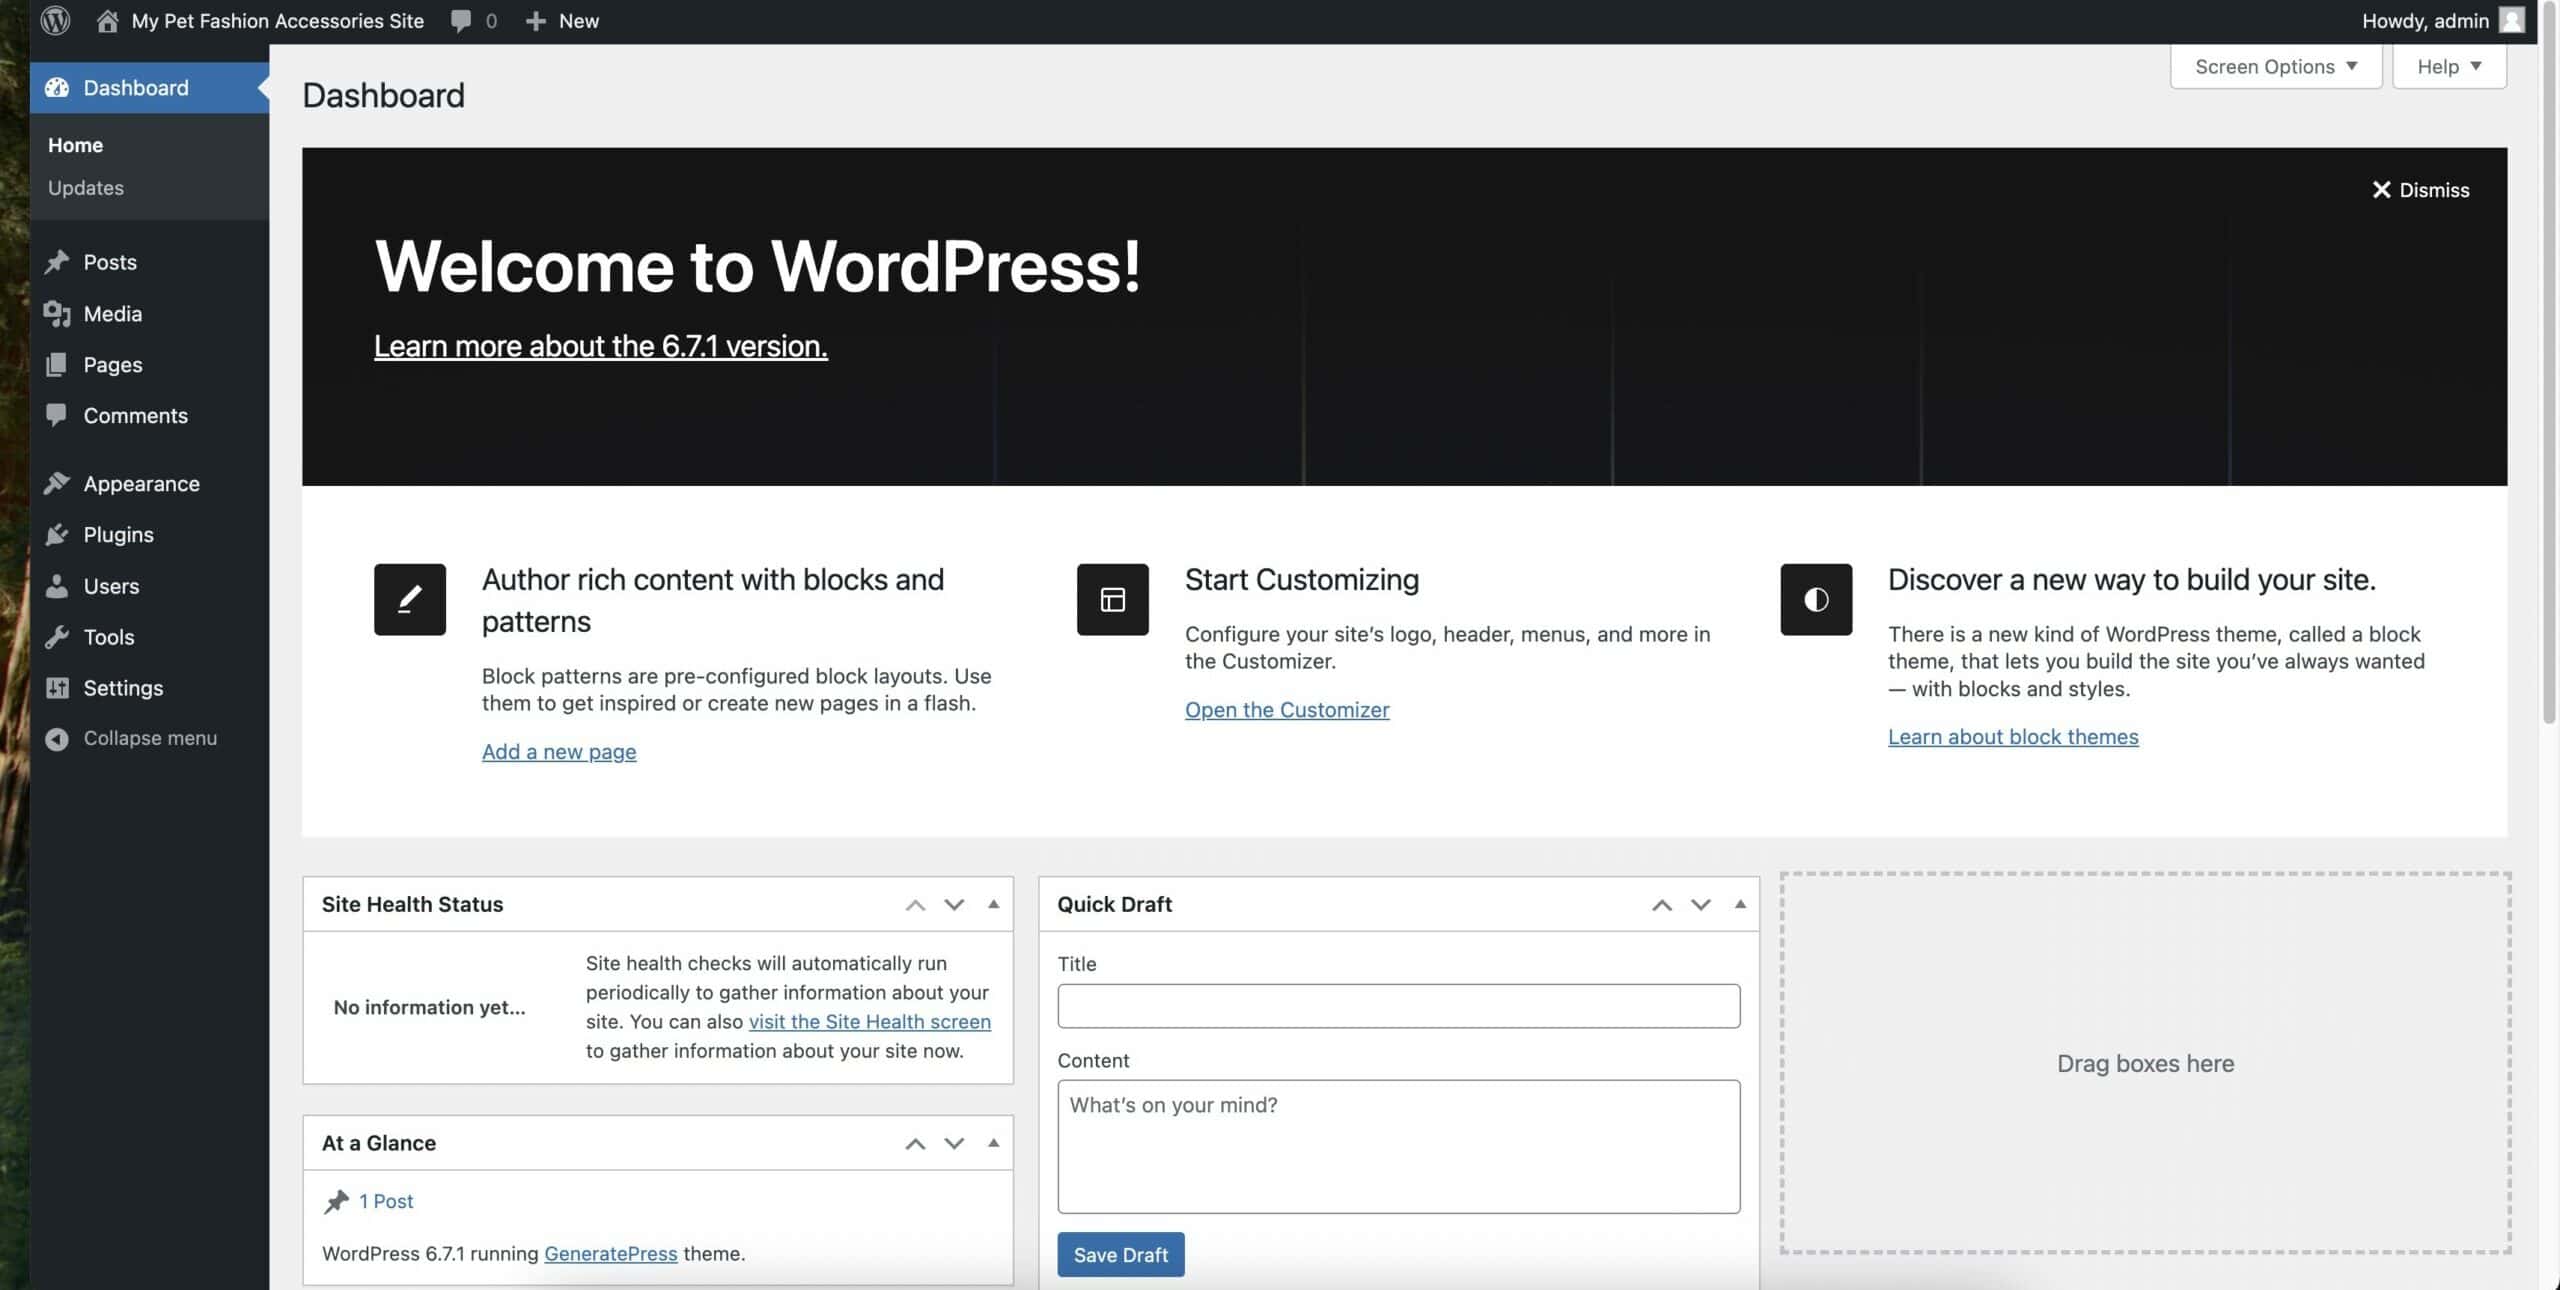
Installing plugins is easy—just navigate to the Plugins section in your WordPress dashboard, search for the plugin you need, and click ‘Install’ and ‘Activate.’

And Finally…

Starting a blog may seem like a daunting task at first, but with the right tools and a clear plan, it’s a straightforward and rewarding process. By choosing a strong domain name, setting up hosting, and personalising your site, you’ve already taken significant steps toward creating an online presence.

Remember, this is just the beginning. As you grow your blog, you’ll continue to learn, refine, and build on this foundation. Take it one step at a time, and enjoy the process of sharing your ideas and passion with the world. And if you’re using Wealthy Affiliate, don’t hesitate to explore their training and resources—they’re designed to support you every step of the way.

How a Website Really Works

How a Website Really Works

You’ve probably heard people say, “I created a website,” as if that’s all there is to it. I know because it’s certainly what I thought when I first started out, Just create a website, and voilà! Done. 

But that’s not quite how it works. Creating a website is only the beginning. To keep it alive and running smoothly, there are a few essential things happening behind the scenes.

Let’s explore how a website works and what goes into maintaining a successful online presence.

What Is A Website For?

1. The Foundation: Hosting and Domain Name

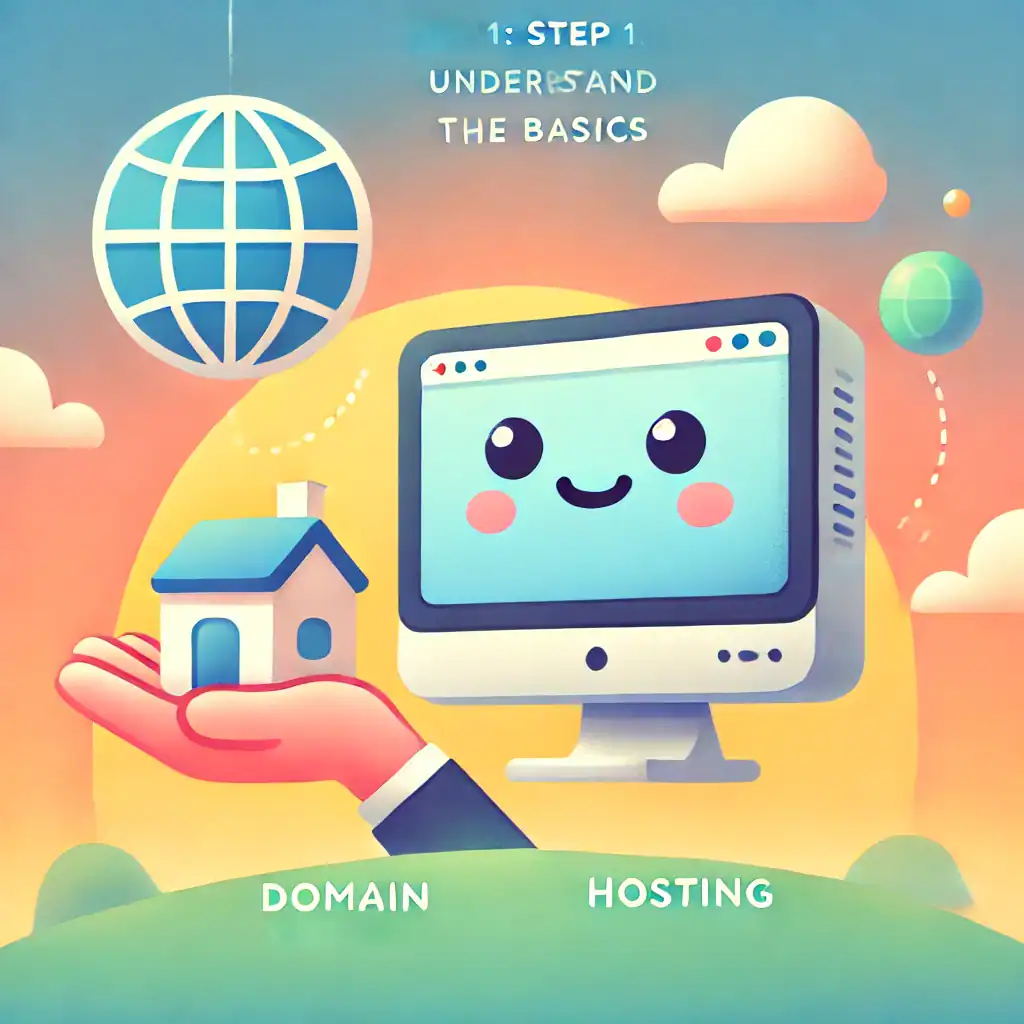
Think of a website like a house. For any house to exist, it needs land (hosting) and an address (domain name).

  • Hosting is where all your website’s files live. When someone visits your site, they’re accessing those files stored on a remote server. Companies like SiteGround, Bluehost, and Wealthy Affiliate offer hosting services where they keep your website “live” on the internet.
  • Domain Name is like your house address. It’s the name people type in to visit your website—like www.getonlinestepbystep.com. Without a domain, visitors wouldn’t know where to find your site.

2. Content and Code: What Visitors See

When you create a website, you’re designing what people will see when they visit. This includes:

  • Text (e.g., blog posts, product descriptions)
  • Images and videos
  • Menus and links to help visitors navigate the site.

But behind the scenes, your site is built with code—languages like HTML, CSS, and JavaScript.

Don’t worry, though; most website builders like WordPress, Wix, and Squarespace take care of the coding for you with drag-and-drop features. Which is just as well for me as I have tried to understand but I’m afraid at the moment it’s all a bit beyond me. 

My websites are built with WordPress so I don’t need to worry.  Coding will have to be put on the back burner until I think it is a necessary requirement (never I hope!)

3. How Websites Reach Visitors: The Role of Servers

Domains and Hosting

When someone clicks on your website link, their browser sends a request to your hosting server. Think of this as sending a virtual letter asking, “Can I see your site, please?” The server then sends back the data (your website files), which displays as a fully functional webpage on their screen.

This process happens in seconds but involves multiple steps:

  1. The browser finds your domain name.
  2. The hosting server responds by sending your website’s data.
  3. The visitor’s browser assembles the data and shows the final webpage.

4. Keeping the Website Running: Maintenance

Many people think that once a website is live, that’s it—job done! Unfortunately, that’s not the case. 

Regular maintenance is crucial to keeping your site fast, secure, and functional. Here’s what’s involved:

  • Updates: Website builders and plugins (extra tools that add features to your site) need regular updates. These updates fix bugs, improve security, and keep your site compatible with new technology.
  • Backups: Imagine losing your entire site due to a server crash or a hack! Regular backups act as a safety net so you can restore your site if something goes wrong. As my websites all live at Wealthy Affiliate I don’t have to worry as the sites are backed-up automatically. Phew!!
  • Security: Hackers target vulnerable websites, especially those without proper protection. Installing security plugins and using strong passwords can help protect your site from attacks.
  • Speed Optimisation: Visitors hate slow websites. Regularly cleaning up large files and optimising images can prevent your site from becoming sluggish.

5. SEO: Making Sure People Can Find You

It’s no use having a fantastic website if no one can find it. This is where Search Engine Optimisation (SEO) comes in. SEO helps search engines like Google understand what your site is about, so they can show it to the right people.

Key SEO factors include:

  • Using relevant keywords in your content.
  • Creating fast-loading, mobile-friendly pages.
  • Writing compelling page titles and meta descriptions (the text that appears on Google’s results page).

Platforms like Wealthy Affiliate offer training and tools to help beginners improve their SEO strategy. I’ve found these invaluable on my journey.

6. User Experience: A Website Visitors Want to Stay On

Your site’s design and structure play a huge role in keeping visitors engaged. If your website is cluttered, confusing, or difficult to navigate, people will leave quickly.

Here are some tips for a great user experience:

  • Simple Navigation: Make it easy for visitors to find what they’re looking for.
  • Mobile Responsiveness: Your site should look good on both desktop and mobile devices.
  • Fast Loading Times: Nobody likes waiting for pages to load. A speedy website keeps visitors happy and improves your SEO.

7. Analytics: Tracking Your Success

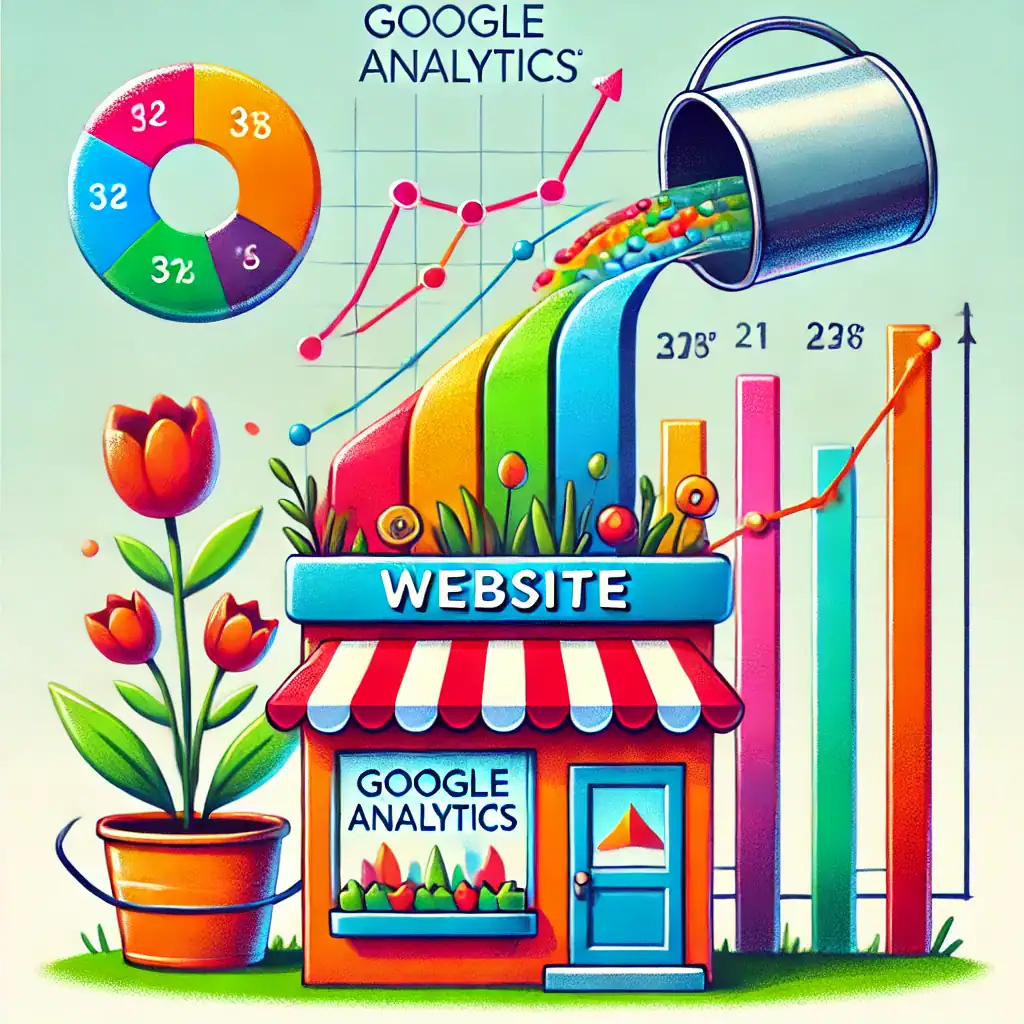
Once your website is live, you’ll want to track how it’s performing. Tools like Google Analytics show you important data, such as:

  • How many people visit your site.
  • Which pages are the most popular.
  • How long visitors stay on your site.

This data helps you make informed decisions about what’s working and what needs improvement.

Google analytics to grow your website

8. The Power of Content: Keeping Your Website Fresh

Websites thrive on fresh, relevant content. Whether it’s blog posts, product updates, or news, regular content updates keep visitors coming back.

Why is content so important?

  • It establishes your expertise.
  • It gives visitors a reason to return.
  • It improves your SEO by providing more pages for search engines to index.

I’ve made it a priority on Get Online Step By Step to provide beginner-friendly articles and guides that answer common questions about building websites and starting an online business.

9. Marketing and Social Media Integration

Having a great website is only part of the puzzle. To attract visitors, you’ll want to promote it through other channels like:

  • Social Media: Share your content on platforms like Facebook, Instagram, and Pinterest to reach a wider audience.
  • Email Marketing: Building an email list allows you to stay in touch with your audience and drive traffic back to your site.
  • Advertising: Paid ads can give your website an extra visibility boost, especially when you’re just starting out.

10. Continuous Learning and Improvement

Technology evolves quickly, so it’s essential to keep learning. Joining platforms like Wealthy Affiliate can help you stay updated on best practices and new tools. Surrounding yourself with a supportive community also keeps you motivated and inspired.

Remember, even experienced website owners are constantly learning and adapting. Embrace the process and take things step by step.

And Finally…

A website is more than just a digital business card. It’s a dynamic, ever-changing platform that requires planning, maintenance, and promotion to succeed. From hosting and domains to content and SEO, every element plays a role in how well your site performs.

A website that is created and left is like having a postcard advertising your business sitting in the window of a store in a tiny village with 15 residents all aged over 80!!!

If you’re feeling overwhelmed, take it slow. Start by learning the basics, and don’t hesitate to reach out for support when needed. Over time, you’ll find that managing your website becomes second nature—and the rewards are well worth the effort.

Here’s a little transparency: My website contains affiliate links. This means if you click and make a purchase, I may receive a small commission. Don’t worry, there’s no extra cost to you. It’s a simple way you can support my mission to bring you quality content.

Write Headlines That Instantly Grab Attention

Write Headlines That Instantly Grab Attention

Headlines are more than just the first thing you see; they’re a sneak peek into what lies ahead—like the cover of a book. And, as you know, first impressions matter. 

So, how do you create a headline that not only stands out but grabs attention instantly? 

It’s all about understanding the art and science behind them.

1. The Secret Ingredient : Psychological Triggers

Great headlines don’t happen by accident—they tap into the reader’s brain in ways they can’t ignore. One powerful tool is psychological triggers. These are the little cues that catch attention and create curiosity.

For example, numbers and lists are headline gold. A title like “5 Simple Steps to Build Your First Website” gives a sense of clarity and certainty, making the content feel approachable.

psychological triggers

Similarly, words like free, new, or even you appeal directly to what the reader wants, making your headline hard to resist.

Another trick? Lean into curiosity. A phrase like, “Why Most Beginners Fail at Headline Writing (and How You Can Succeed)” teases the answer, pulling the reader in for more.

2. Tap into Emotions

Emotions are the heart of every successful headline. Whether it’s happiness, excitement, or even a little fear, emotionally charged words make your titles instantly relatable. Think about what your content offers:

  • Is it solving a problem? Focus on relief or satisfaction.
  • Is it inspiring change? Highlight hope or motivation.

For example, “How to Stop Feeling Overwhelmed and Finally Start Your Blog” targets both the frustration and the solution in one go.

3. Write for Your Audience

Your readers are looking for something specific—whether it’s a “how-to” guide, a quick tip, or an answer to a burning question. 

Your job? Make your headline crystal clear about what they’ll gain.

Let’s say you’re writing a tutorial about setting up a website. A headline like, “How to Create a Stunning Website in Under 2 Hours” tells the reader exactly what to expect. Clarity builds trust, and trust earns clicks.

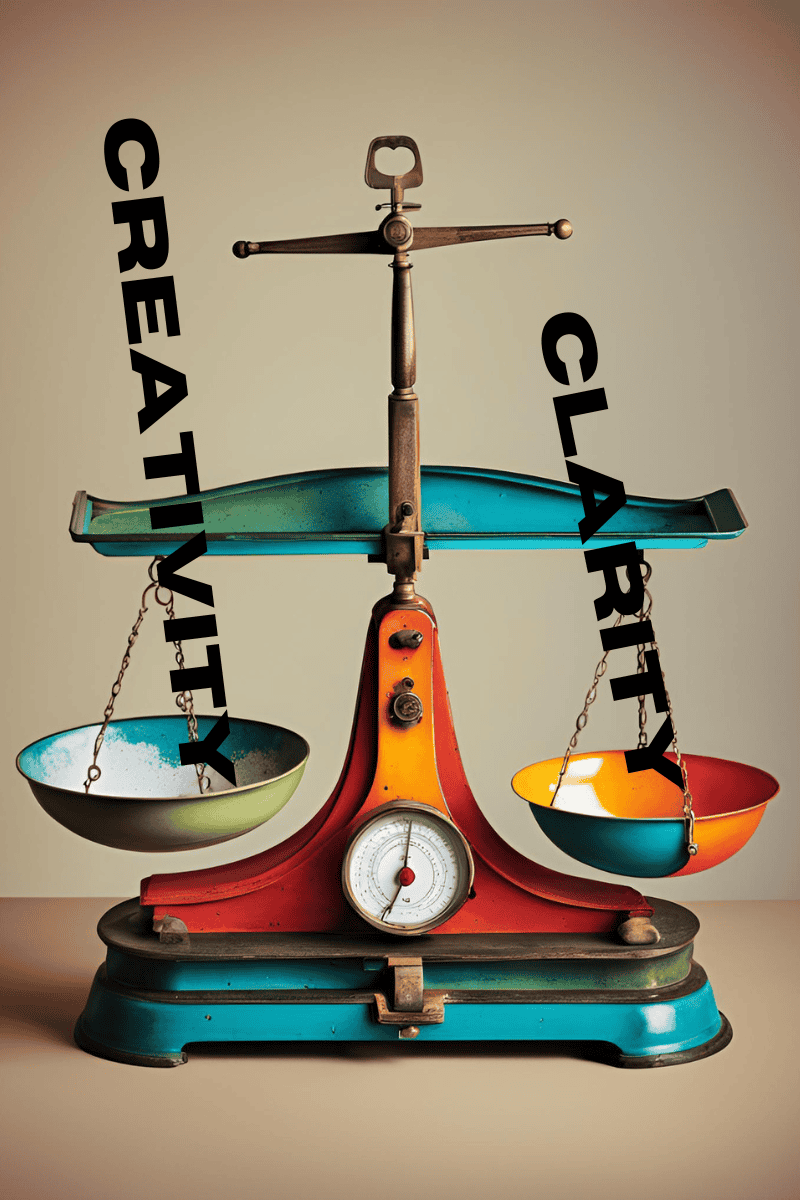
4. Balance Clarity with Creativity

Clarity and creativity

This is the tricky bit. 

A great headline is a balancing act between being clear about your topic and adding a touch of creativity.

Go too far in one direction, and you risk being vague or dull; go too far the other way, and you end up with clickbait.

For example, instead of “Website Design Tips,” try, “10 Website Design Hacks Every Beginner Needs to Know.” It’s clear, creative, and a little more enticing.

5. Add a Personal Touch

Headlines that feel personal resonate more. When you know your audience, speak directly to them. Use their language, address their struggles, and reflect their experiences in your words.

Take, for instance, “How I Built My First Website with Zero Experience.” Sharing a personal journey can create a connection while still delivering useful content.

6. Build Trust with Data and Consistency

Trust is non-negotiable. Your headline is a promise, and your content should deliver on it. Misleading headlines—no matter how catchy—will backfire and leave readers feeling disappointed.

If you can, back up your claims with data. A headline like, “3 Proven Ways to Triple Your Blog Traffic in 30 Days” builds trust by suggesting tangible, results-based solutions.

Consistency is equally important. If your headline promises a “step-by-step guide,” make sure your article delivers exactly that. Transparency earns you loyal readers.

7. Study What Works

Finally, don’t forget to learn from the best. Pay attention to headlines that grab your attention—what makes them effective? Is it the emotional pull? The curiosity factor? The promise of results?

Take those elements and adapt them to your own style. Over time, you’ll develop a knack for creating headlines that click with your audience.

And Finally…

Headlines are the gateway to your content, and getting them right is an art worth mastering. By using psychological triggers, tapping into emotions, understanding your audience, and balancing clarity with creativity, you’ll be crafting headlines that grab attention in no time.

Now it’s over to you—what kind of headline will you write next?

Not Just Pretty Pages: Why Your Website Deserves More Than A Makeover

Not Just Pretty Pages: Why Your Website Deserves More Than A Makeover

It’s easy to get caught up in the visual appeal of a website, but what happens behind the scenes is what truly makes it shine. 

A great website isn’t just a pretty face—it’s a powerful tool designed to engage, inform, and deliver value. From user experience to credibility and SEO, there’s a lot more to building a successful website than meets the eye.

website makeover

Prioritizing User Experience: The Heart of a Successful Website

A sleek design might catch the eye, but it’s the soul of the website—the user experience—that keeps people coming back.

In today’s digital playground, it’s all about how users feel when they interact with your site. You want that experience to be smooth, engaging, and rewarding enough to make them stick around—not just click away.

Imagine walking into a shop where you can’t find the checkout or where the aisles are a mess—frustrating, isn’t it? That’s exactly how visitors feel when navigation is clunky or doesn’t make sense on your site. 

A clean, easy-to-use interface keeps visitors engaged, helping them find what they need with minimal fuss.

Responsive design is no longer a nice-to-have; it’s a must-have. With so many people browsing on their phones and tablets, ensuring your site looks great on any device is essential. This responsiveness speaks volumes about your brand—showing your audience you care about their experience, no matter how they choose to interact with you.

And then there is the need for speed. In this fast-paced world, waiting even an extra second for a page to load is a dealbreaker.

Make sure each page is optimised to load quickly, because when pages are slow, visitors tend to walk away pretty quickly—straight to your competitor’s site.

A thoughtful user experience prioritises accessibility and usability, ensuring everyone, regardless of ability, can interact with your content. Taking the time to consider different users’ needs shows empathy and helps broaden your audience. In prioritising user experience (UX), you create a website that’s not just visited but valued.

The E-E-A-T Element: Establishing Credibility and Trust

EEAT

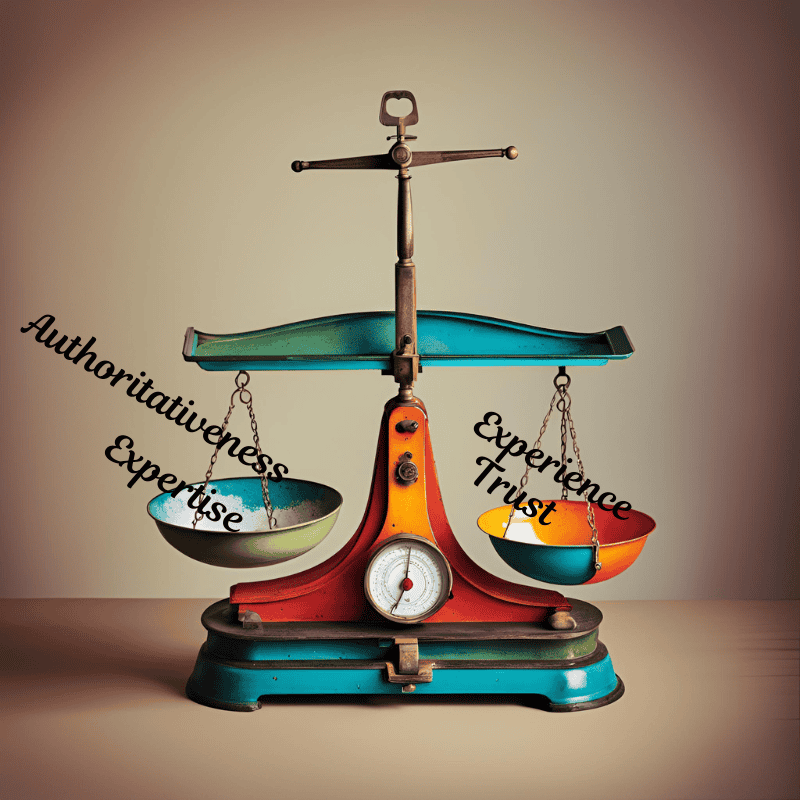
When it comes to websites, standing out in a sea of digital noise isn’t just about having flashy graphics or catchy headlines. It’s about building credibility and trust, and that’s where E-E-A-T—Experience, Expertise, Authoritativeness, and Trustworthiness—comes into play. This set of principles is like your secret weapon for gaining user confidence.

Let’s break it down:

Experience and expertise mean demonstrating that you know your stuff. Whether you’re offering advice, selling products, or sharing stories, your content should reflect a deep understanding of the subject matter. People pick up on that and tend to trust sources that clearly know what they’re talking about.

Authoritativeness is about showcasing your credentials and those of anyone who contributes to your site. It might sound a bit old-school, but things like author bios, certificates, or links to reputable sources can massively boost your trust factor.

Building trust also involves transparency, especially with how user data is handled. Make sure your privacy policies are clear and visible. Let your visitors know exactly what data you collect and how you use it. This level of transparency reassures users and supports the credibility of your site.

Lastly, don’t shy away from using testimonials and reviews. Hearing honest feedback from real people adds layers of trust to your site. These elements help potential customers see the real value behind what you offer.

Understanding E-E-A-T and implementing its principles isn’t just a nice-to-have—it’s essential for making sure your website isn’t just browsed but trusted and valued.

SEO and Content Strategy: Driving Traffic and Engagement

Quality content is the lifeblood of any successful website. While focusing on user experience is key, integrating solid SEO practices ensures that your stellar content isn’t just sitting in the dark.

It’s all about getting the right eyes on your pages and turning those views into meaningful interactions.

The magic starts with keyword research. But don’t just stuff your content with every buzzword imaginable.

Instead, weave these gems into your writing naturally, making sure it flows and feels genuine.

Imagine you’re talking to a friend rather than a search engine, keeping things relatable and authentic.

SEO magic

Refreshment isn’t just for drinks; your content needs it too. Regular updates with relevant, timely information keep visitors coming back for more.

Plus, search engines love websites that stay current, so keeping your content fresh can give you that extra SEO boost.

When it comes to linking, think of it like building a small network. Internal links guide visitors deeper into your site, showing off more of what you offer and helping with navigation.

External links, on the other hand, should connect your content to reputable sources, adding credibility and trust to what you’re saying.

A strategic approach to SEO and content is about more than just rankings; it’s about creating a space where people find real value. With the right mix of engaging content and smart SEO moves, you’re not just driving traffic—you’re building a community that connects and grows.

And Finally…

Your website deserves more than just a superficial refresh. By focusing on user experience, credibility, and smart SEO strategies, you can create a platform that doesn’t just look good but works hard to meet your goals.

It’s not about chasing trends—it’s about building a solid foundation that helps you connect, engage, and grow. Remember, a website is more than a digital storefront; it’s the heartbeat of your online presence.

Here’s a little transparency:
My website contains affiliate links. This means if you click and make a purchase, I may receive a small commission. Don’t worry, there’s no extra cost to you. It’s a simple way you can support my mission to bring you quality content.

A Beginner’s Guide to Domain Names and Web Hosting

A Beginner’s Guide to Domain Names and Web Hosting


Creating a website can seem such a daunting task if you’ve never ventured into the world of domains and hosting.

But don’t worry—I’ll break it all down step by step in simple, straightforward terms.

Domain and Hosting

What’s a Domain Name?

A domain name is your website’s address on the internet. It’s the unique name people type into their browser to reach your site, like www.getonlinestepbystep.com.

Think of it as your online identity—this is how people will find and recognise you on the web.

When choosing a domain name, keep it short, memorable, and relevant to your website’s content. Avoid special characters like hyphens or numbers, as they can be confusing.

If your website is about baking, for example, something like www.bakewithjoy.com is simple and effective. This choice isn’t just about branding—it also helps people find you more easily and improves your search engine rankings.

The Basics of Web Hosting

Web hosting is where your website lives—it’s like renting a space for your site on the internet. All of your site’s files, images, and data are stored on a server provided by your hosting provider.

Without hosting, your domain name wouldn’t lead to anything—it’d be like having an address without a house.

There are different types of hosting, and each serves specific needs:

  • Shared Hosting: Great for beginners with smaller websites. It’s affordable and easy to set up but shares resources with other sites, which may impact performance.

  • VPS Hosting: Offers more control and dedicated resources. Ideal for growing websites that need better performance.

  • Dedicated Hosting: The whole server is yours—perfect for larger businesses or high-traffic sites but more expensive.

  • Cloud Hosting: Balances your website across multiple servers for stability and reliability, even during traffic spikes.

If you’re using Wealthy Affiliate, hosting is included in their membership. It’s convenient, especially for beginners, as everything from hosting to building your site is in one place.

How Domain Names and Hosting Work Together

Dynamic Duo: Domain and hosting

A domain name and hosting are like a dynamic duo—one can’t function properly without the other. When someone enters your domain name in their browser, the hosting server delivers your website to them. This partnership ensures your website is live and accessible to the world.

If you’re just starting out, it’s worth considering hosting providers that also offer domain registration. This bundling makes it easier to manage both in one place. Wealthy Affiliate, for example, provides this as part of their service, simplifying the process for beginners.

Choosing the Right Domain and Hosting for Your Website

Picking a domain name:

  • Brainstorm ideas relevant to your website’s theme.
  • Aim for something short, clear, and easy to remember.
  • Check for availability using tools like Wealthy Affiliate’s SiteDomains feature or registrars like GoDaddy or Namecheap.
  • Be mindful of renewal costs, as these can sometimes increase after the first year.
  • Consider adding domain privacy to keep your personal details secure.

Selecting hosting:

  • Think about your website’s size, traffic expectations, and future growth.
  • Beginners often start with shared hosting for its simplicity and affordability.
  • If you anticipate growth or have a business website, VPS or cloud hosting might be better options.

Extra Tips for a Smooth Start

  1. Secure Your Website: Look for hosting providers that include SSL certificates (Secure Sockets Layer) to encrypt data and boost trust.
  2. Think About Backups: Regular backups ensure your data is safe in case of technical issues.
  3. Speed Matters: A slow-loading website can frustrate visitors. Opt for hosting providers known for fast loading times.

And Finally...

Starting your website doesn’t have to be overwhelming. By understanding domain names and hosting, you’re already on the path to creating an online presence that works for you. Choose a domain name that reflects your brand or passion, and pick hosting that fits your needs and budget. These are the building blocks of your website, so take your time to make informed decisions.

Remember, whether you’re setting up a blog, a small business, or a hobby site, there are plenty of tools and resources to guide you. Wealthy Affiliate offers an all-in-one platform for beginners, making it easier to navigate the setup process.

Here’s a little transparency: My website contains affiliate links. This means if you click and make a purchase, I may receive a small commission. Don’t worry, there’s no extra cost to you. It’s a simple way you can support my mission to bring you quality content.

10 Free WordPress Themes Perfect for Beginners

10 Free WordPress Themes Perfect for Beginners

Setting up your first WordPress website can feel like stepping into a whole new world. You’ve got the basics sorted—domain name, hosting, and now, the exciting part: choosing a theme.

A WordPress theme is what gives your site its unique look and feel, so picking the right one is important. Don’t worry, though. I’m here to help you find the perfect match with ten free, beginner-friendly WordPress themes.

Wordpress website

What Makes a Theme Beginner-Friendly?

For beginners, simplicity is key. A beginner-friendly theme is:

  • Easy to set up: No need for advanced coding or design skills.
  • Customisable: Let’s you tweak the look to match your style without overwhelming you.
  • Responsive: Looks great on phones, tablets, and desktops.
  • Fast-loading: Visitors won’t hang around for a slow website.
  • Well-supported: Comes with documentation and, ideally, active support.

10 Free WordPress Themes to Kickstart Your Website

Here’s my handpicked list of WordPress themes that check all these boxes and are completely free:

  1. Astra
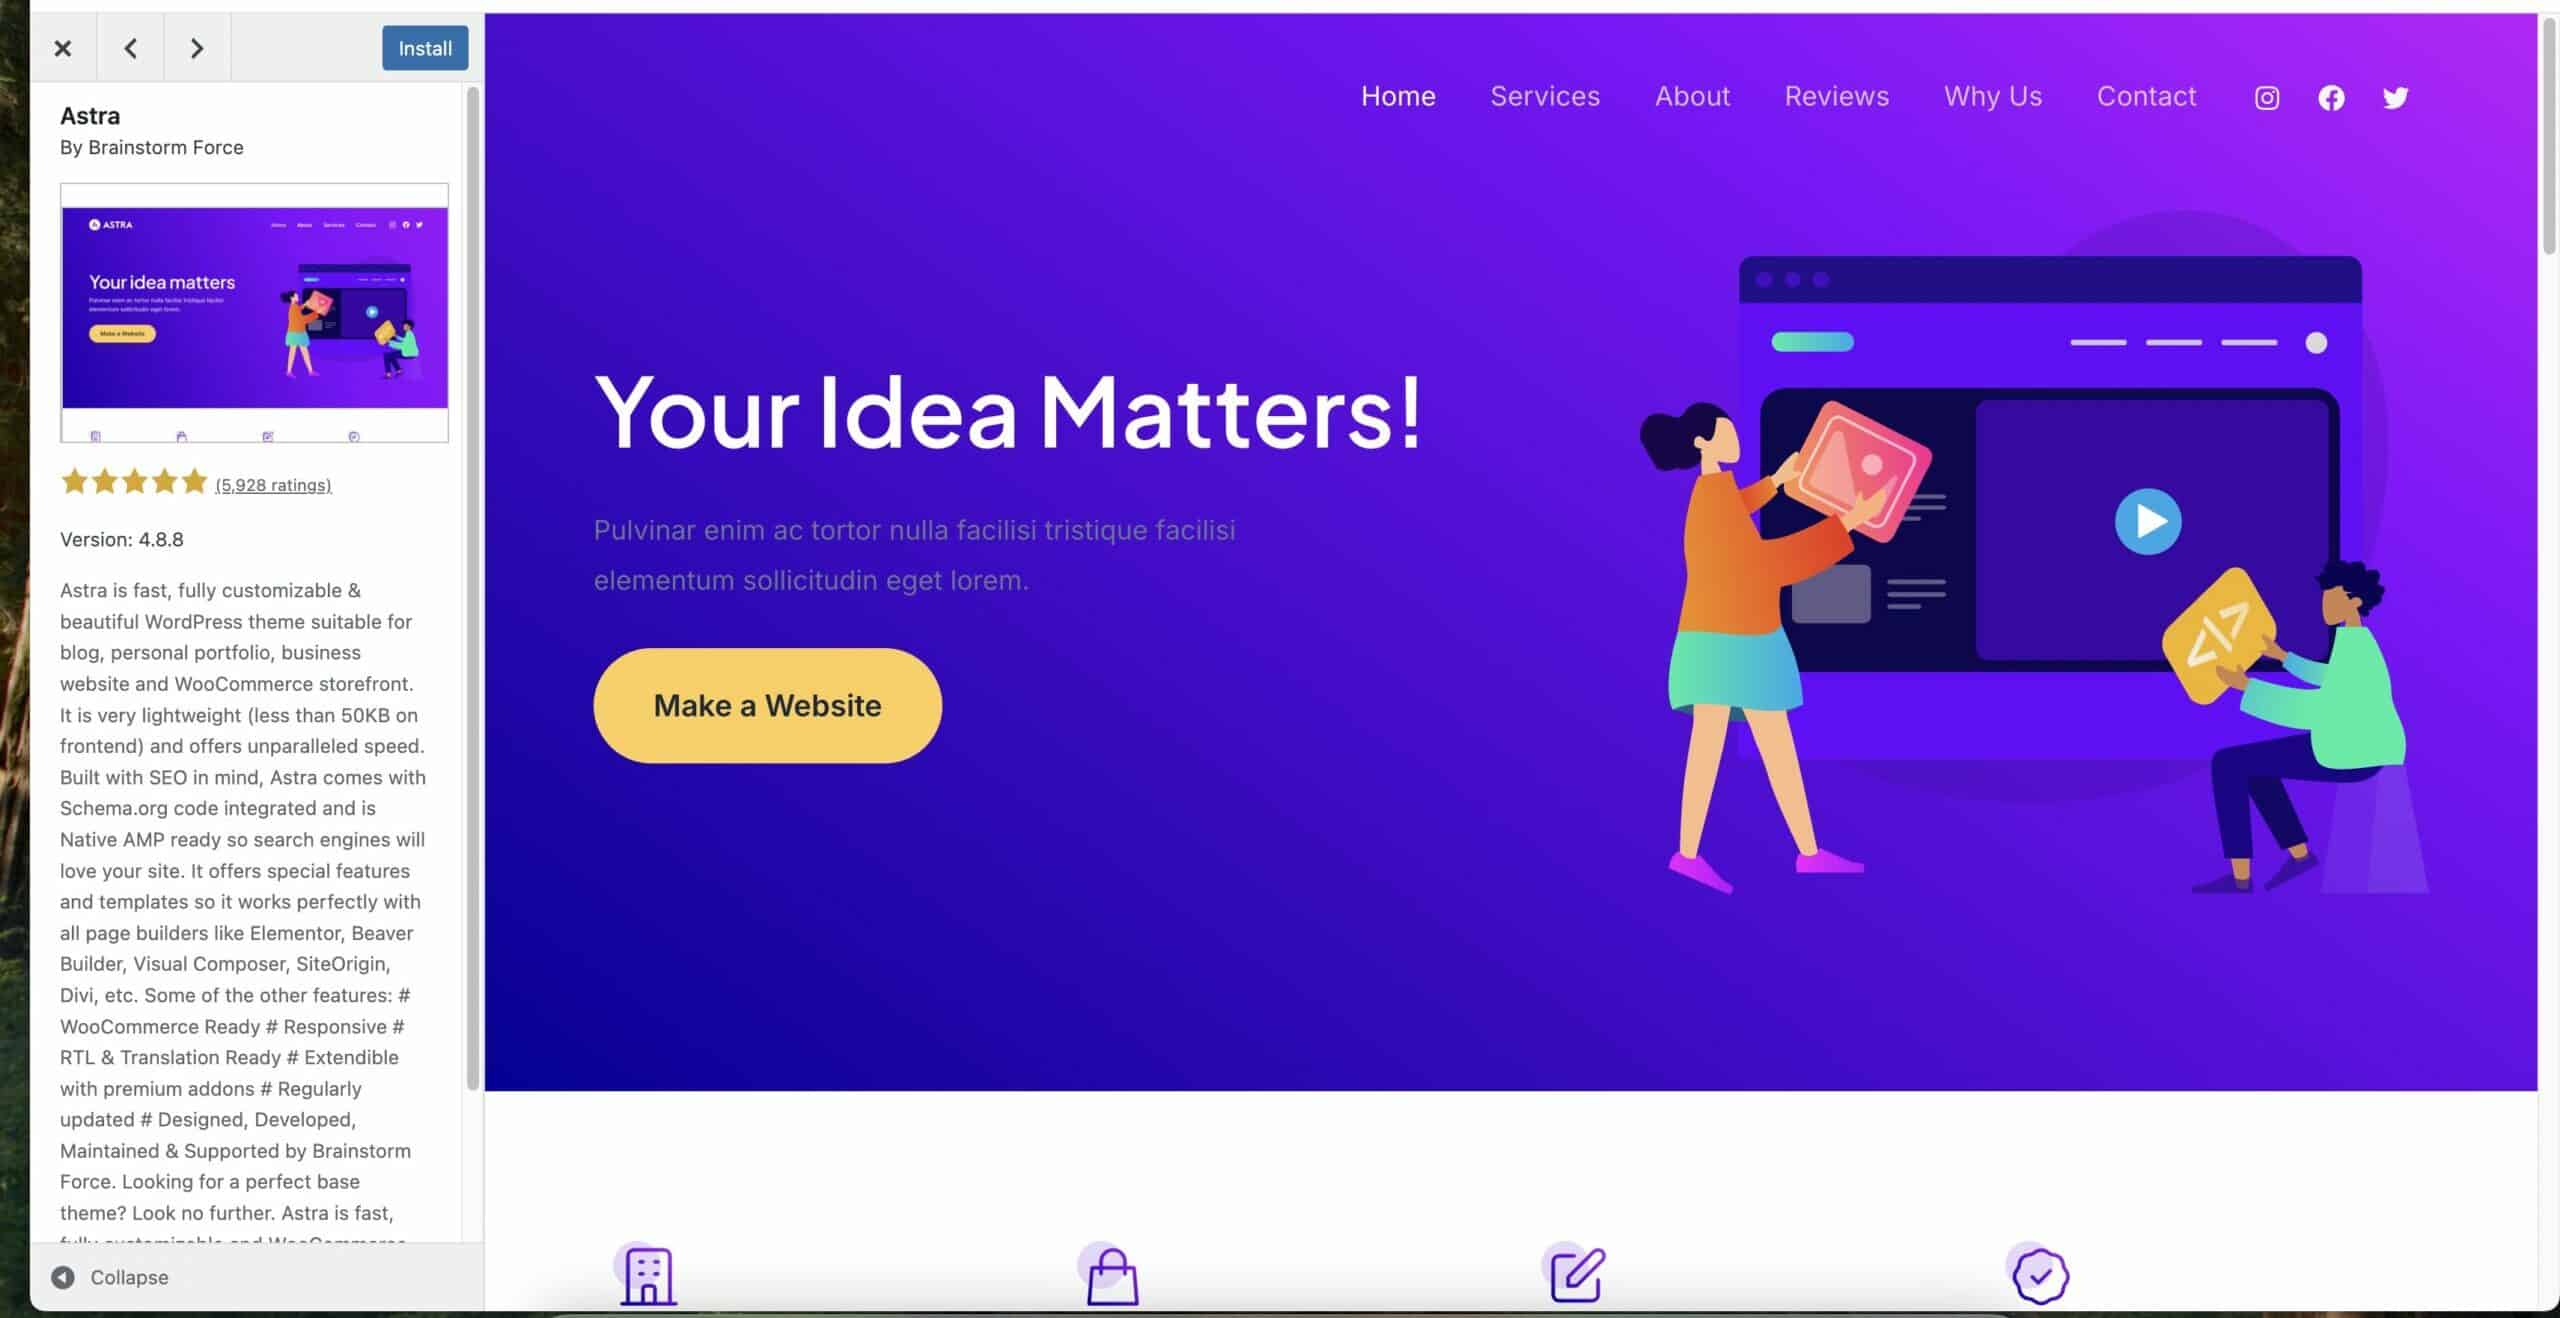
    Astra is lightweight, fast, and works perfectly with drag-and-drop builders like Elementor. Its pre-made templates are easy to customise, making it a solid choice for beginners.
  2. OceanWP
    OceanWP offers professional-looking designs and is highly adaptable for various website types. It’s packed with features and works seamlessly with most plugins.
  3. Neve
    Neve is clean, minimalist, and lightning-fast. Its one-click demo import feature lets you start your site quickly with minimal hassle.
  4. Hestia
    Hestia is a versatile theme with a modern look, perfect for business websites or personal blogs. It integrates well with WooCommerce for online stores.
  5. Twenty Twenty-Four
    The Twenty Twenty-Four theme is a modern, minimalist, and highly customisable WordPress theme designed for full-site editing, making it ideal for beginners and advanced users alike.
  6. Sydney
    Sydney is excellent for business sites and freelancers, offering plenty of customisation options and a polished design.
  7. Zakra
    Zakra is lightweight, flexible, and perfect for small business websites, blogs, or portfolios. It’s SEO-friendly and responsive.
  8. GeneratePress
    GeneratePress is one of the fastest themes out there, with a focus on speed and usability. It’s also highly compatible with popular plugins.
  9. Shapely
    Shapely is a one-page theme with a sleek design, perfect for portfolios or landing pages. It’s easy to use and works well for beginners.
  10. ColorMag
    If you’re starting a blog or online magazine, ColorMag’s vibrant, content-focused design is a fantastic option.
5 wp themes
Another 5 themes

How to Choose the Right Theme for You

Before diving in, think about your website’s purpose. Are you starting a blog, building a business site, or showcasing your portfolio? Your theme should align with your goals. Once you’ve chosen a theme, look for:

  • Customisation options: Does it let you change colours, fonts, or layouts easily?
  • Demo content: Pre-made templates can save you hours of setup time.
  • Compatibility with plugins: Ensure it works with popular tools like SEO plugins and page builders.

Tips for Installing and Customising Themes

  1. Install Your Theme:
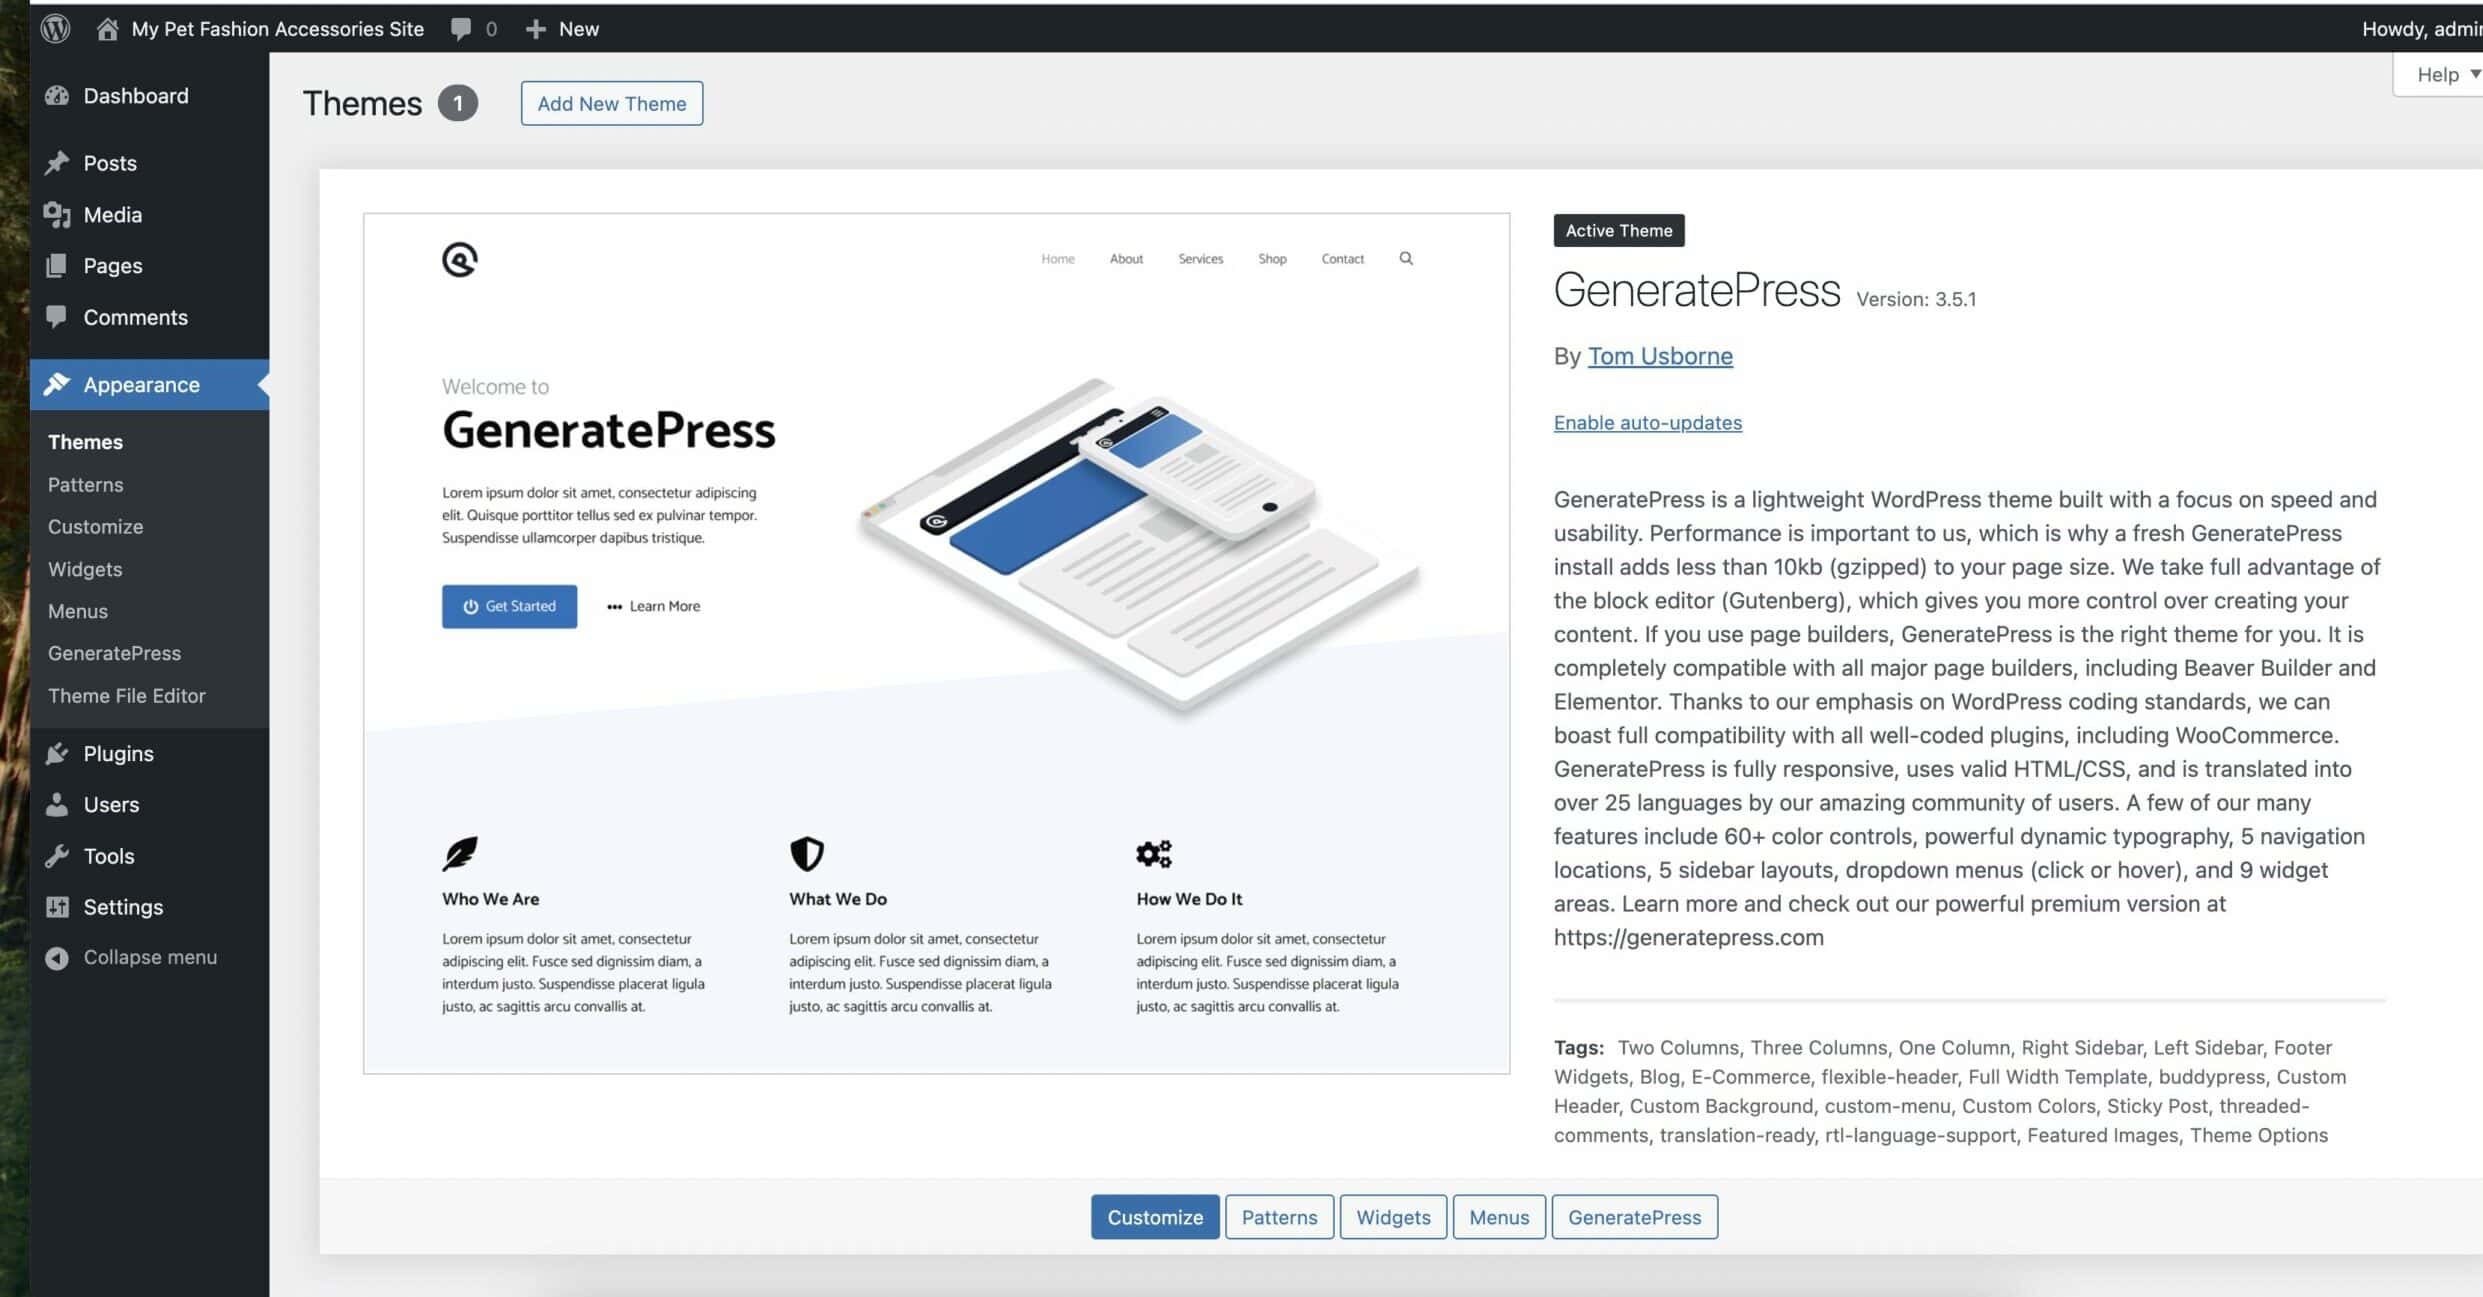
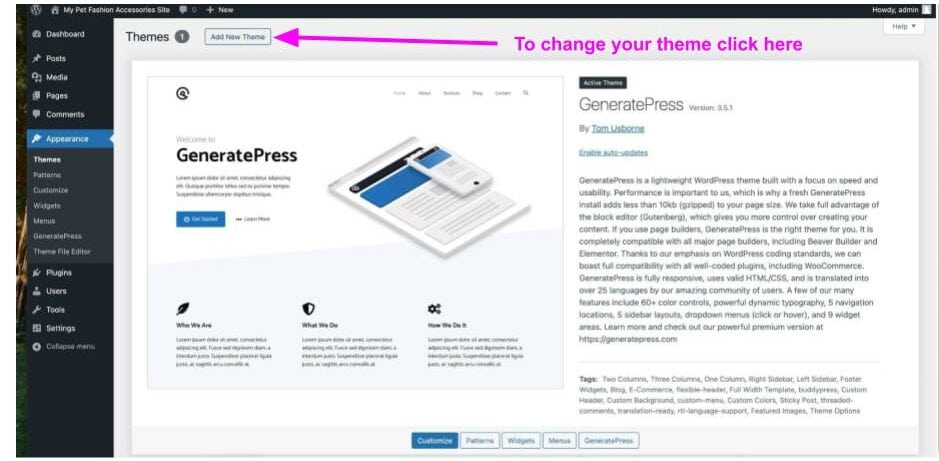
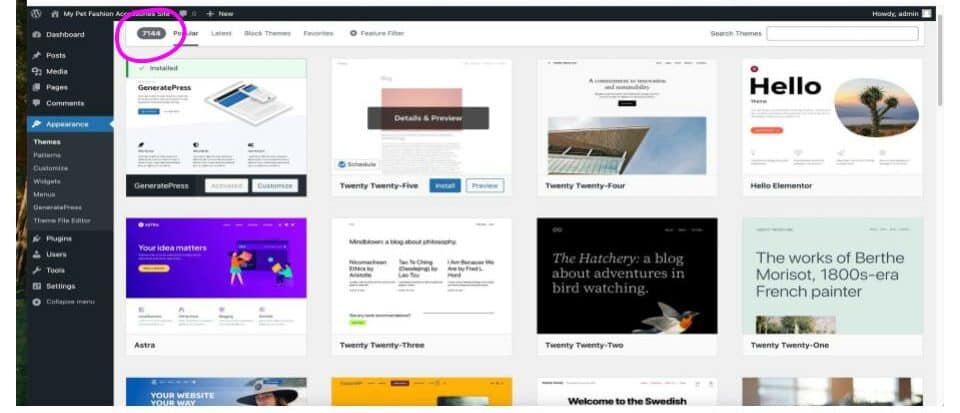
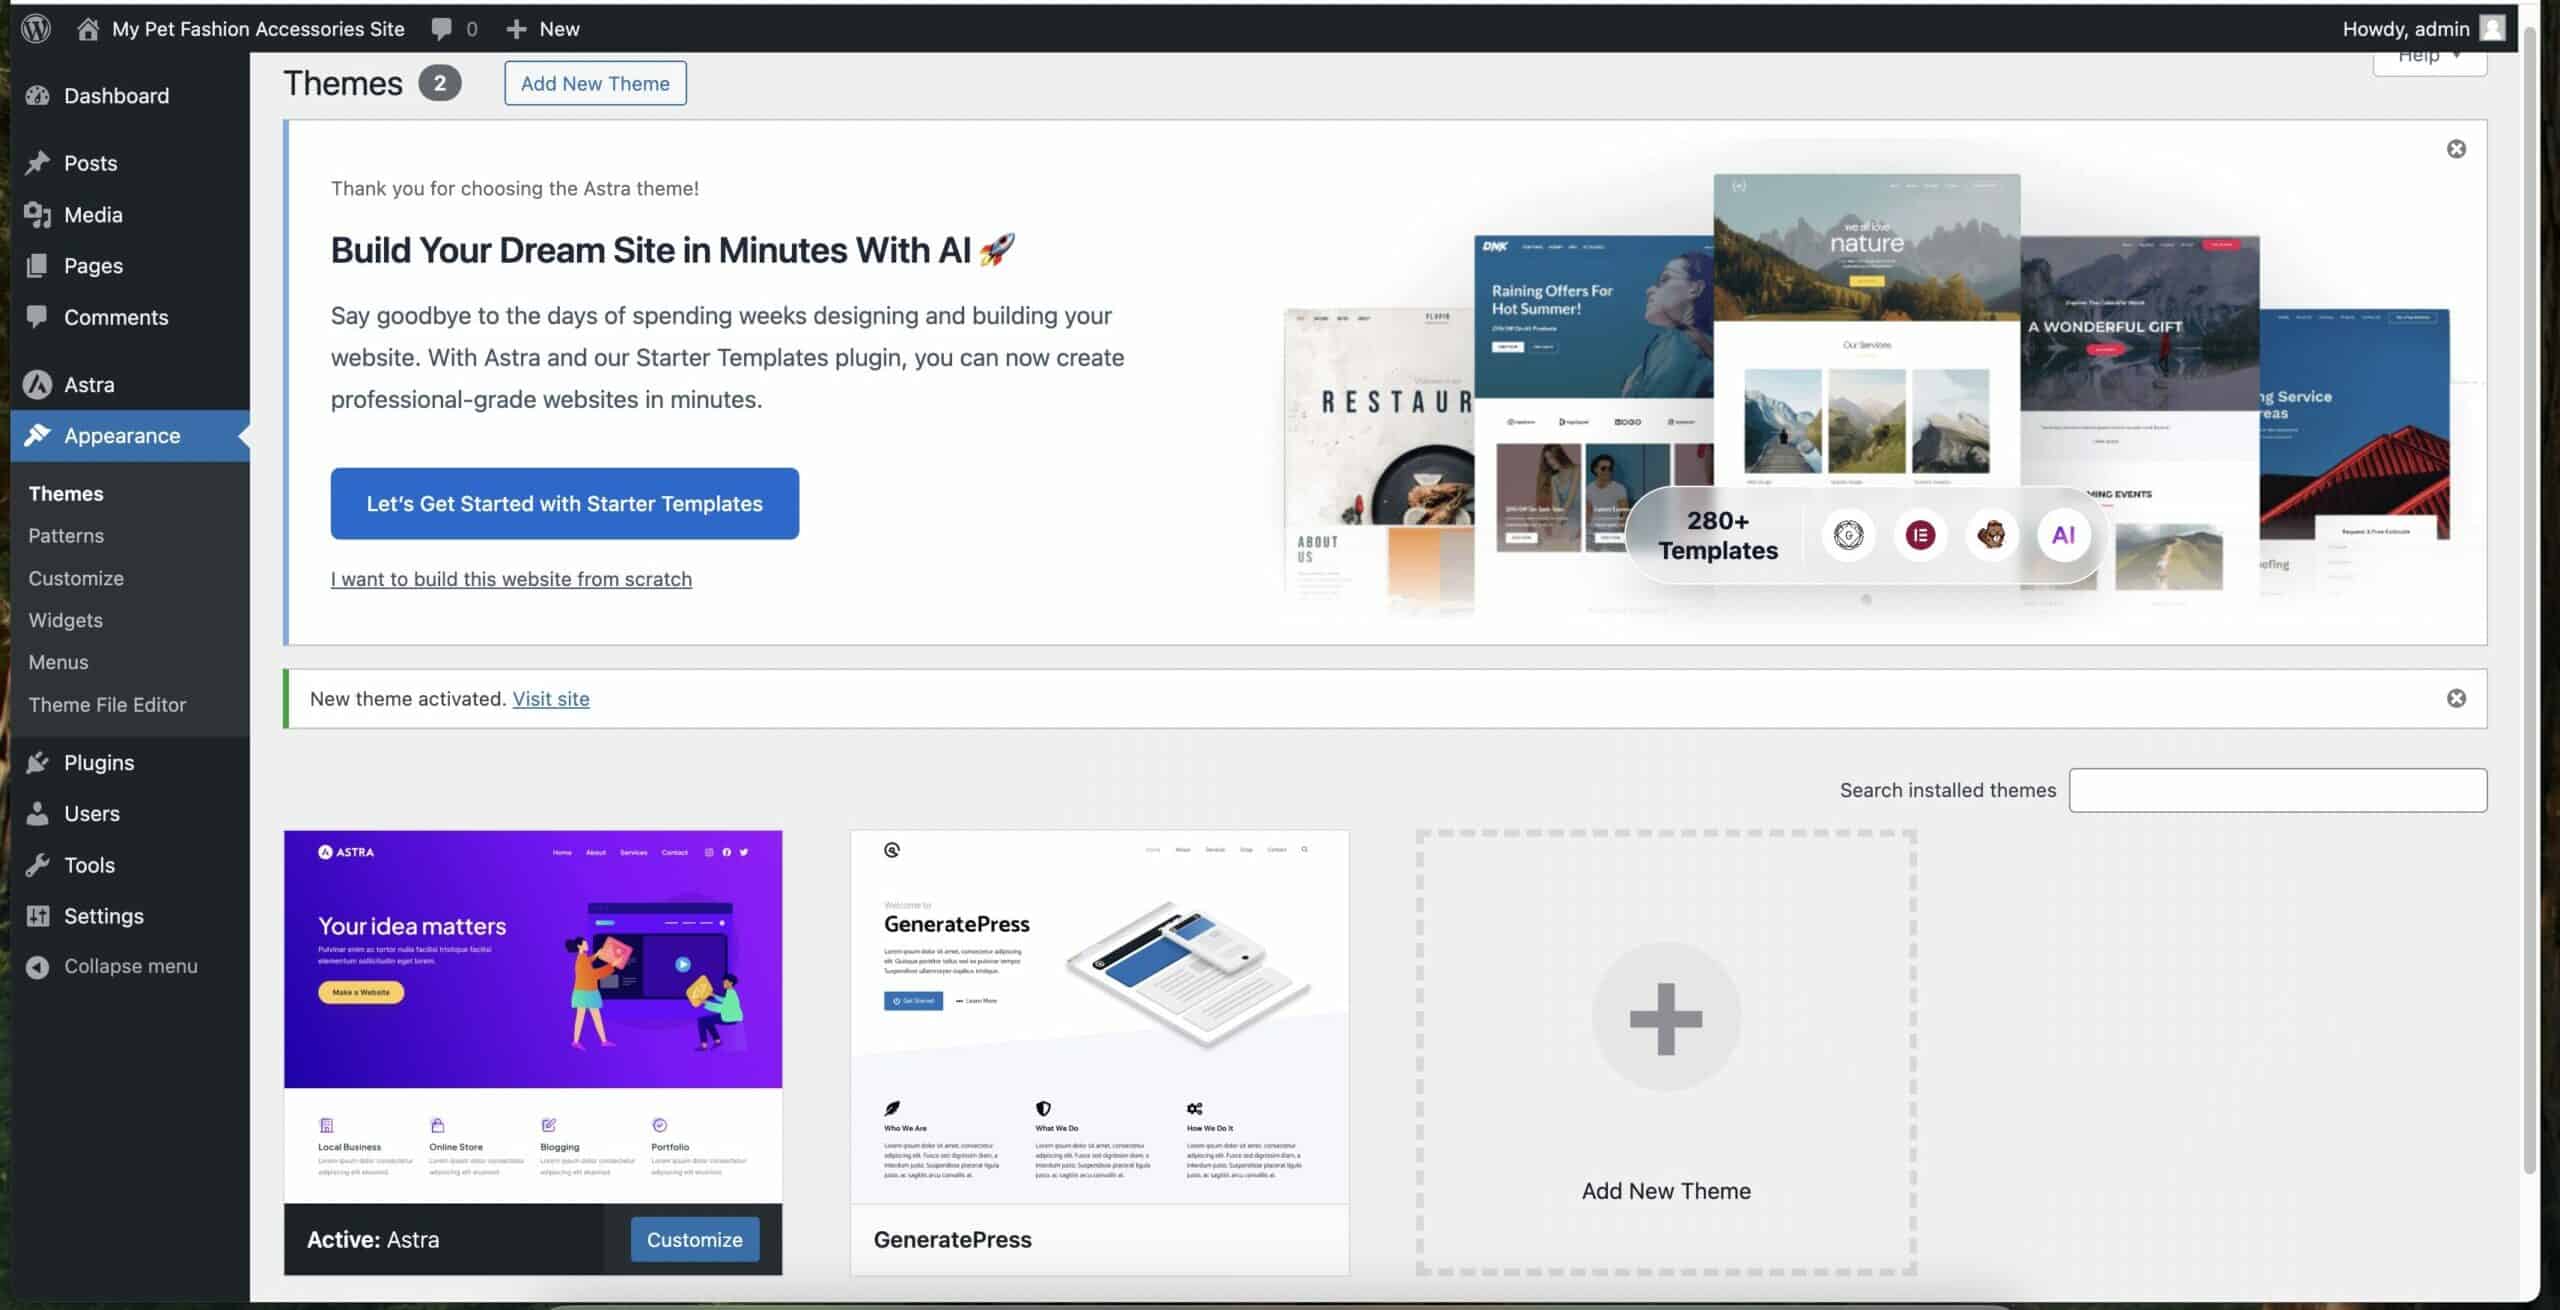
    Go to your WordPress dashboard, click on “Appearance” > “Themes” > “Add New”, and search for your chosen theme. Once found, hit “Install” and “Activate.”
  2. Customise It:
    Head to the “Customise” section in your dashboard. From there, you can change colours, add a logo, or tweak layouts to suit your style.
  3. Test Responsiveness:
    Use your phone or tablet to check how your site looks. Most themes on this list are responsive, but it’s always good to double-check.
  4. Keep It Simple:
    Avoid overloading your site with too many features or flashy designs. A clean and straightforward layout is often the most effective.

Why Choose Free Themes?

Free themes are perfect for beginners because they’re risk-free and easy to experiment with.

Many offer premium upgrades if you decide to unlock more advanced features later. This allows you to grow your website gradually without committing to a paid theme upfront.

Just for your information, this website is built with the Divi Theme from Elegant Themes. I use this for all my websites and I love it.  This doesn’t mean you need to buy a theme.  There are thousands to choose from so I’d recommend you start with one of those.

And Finally…

Starting your WordPress website can be a journey filled with decisions, but choosing the right theme doesn’t have to be one of the stressful parts.

The themes on this list are designed to give your site a professional, polished look without the steep learning curve. Pick one, explore its features, and let your creativity shine.

Here’s a little transparency: My website contains affiliate links. This means if you click and make a purchase, I may receive a small commission. Don’t worry, there’s no extra cost to you. It’s a simple way you can support my mission to bring you quality content.

What is a Landing Page and How to Use Them

What is a Landing Page and How to Use Them

When you first explore the idea of setting up a website or starting an online project, you’ll likely hear about something called a “landing page.” If you’re unsure what that means, don’t worry – I’ll explain it clearly, step by step.

A landing page is an essential part of creating an online presence, and understanding it can set you on the right path to success.

Landing Page

What Is a Landing Page?

A landing page is a single webpage designed with a specific purpose in mind.

Unlike a full website with multiple pages and menus, a landing page focuses on one clear goal. This could be encouraging someone to sign up for a newsletter, download a free resource, or make a purchase.

Think of it as the welcoming mat to your online offering – a space where people can take action without getting distracted by extra links or clutter.

Why Are Landing Pages Important?

Landing pages are effective because they make things simple for visitors.

By presenting a single call-to-action (often abbreviated as CTA), such as “Click here to get started,” they guide people towards a specific result. This focused approach often leads to higher success rates compared to general web pages that may try to do too much.

For instance, if you’re launching an e-book or promoting a service, your landing page becomes the go-to space where interested visitors can learn more and take the next step.

How to Use Landing Pages Effectively

If you’re new to this, creating a landing page might sound tricky, but it’s easier than you think. 

Here’s how you can get started:

1. Decide on Your Goal

First, ask yourself: 

What do I want this page to achieve? 

Is it to collect email addresses, share information, or sell a product? 

Once you’ve identified the purpose, everything else will revolve around it.

2. Create Simple and Clear Content

The key to a great landing page is keeping it straightforward. Use plain language, write short sentences, and focus on what’s important. For example:

  • Explain the benefit: “Download my free guide to get started with gardening today.”
  • Keep instructions clear: “Enter your email below to receive your free guide.”

3. Include a Call-to-Action

Your CTA is the main action you want visitors to take. It might be a button that says:

  • “Sign Up Now”
  • “Download for Free”
  • “Get Started Today”

Make the button stand out with a bold colour and place it in an obvious spot on the page.

sign up

4. Use an Easy Design Tool

If you’re not a tech expert, there’s no need to worry. Platforms like Wealthy Affiliate or Canva provide user-friendly tools to design your landing page. These often include templates where you can add your text and images without needing coding skills.

5. Test and Improve

Once your landing page is live, see how it performs. Are people clicking your button or signing up? If not, you can adjust the text or layout to make it more engaging. 

Tools like Google Analytics can help track these results.

And Finally...

A landing page is a fantastic way to focus your website visitors’ attention on a single action that benefits both them and you. By understanding the basics and following these simple steps, you’ll be well on your way to creating a page that works hard for you.

Keep it clear, purposeful, and easy to navigate, and your landing page will become an invaluable part of your online presence.

Here’s a little transparency: My website contains affiliate links. This means if you click and make a purchase, I may receive a small commission. Don’t worry, there’s no extra cost to you. It’s a simple way you can support my mission to bring you quality content.

What Is a Hyperlink in an Image?

What Is a Hyperlink in an Image?

If you’re new to building a website, you might have come across the term “hyperlink” and wondered what it means, especially when it comes to images.

Don’t worry—this is a simple concept that can make your website more interactive and useful. Let me walk you through what a hyperlink in an image is and how you can use it to improve your website.

Hyperlink in image

What Is a Hyperlink?

A hyperlink is just a link that connects one part of the internet to another. For example, clicking on a hyperlink might take you to a different page on the same website or even to a completely different site.

These links are usually found in text, but they can also be added to images.

What Does It Mean to Add a Hyperlink to an Image?

Adding a hyperlink to an image means that when someone clicks on the image, they’re taken to another webpage. This can be very useful if you want to direct people to a product, another section of your site, or even an external resource.

Here’s an example: imagine you’ve added a picture of a book to your website. If you add a hyperlink to the image, clicking on it could take the person directly to a page where they can buy that book.

Why Use Hyperlinks in Images?

Using hyperlinks in images can be helpful for several reasons:

  1. Improves Navigation
    Hyperlinked images can guide your visitors to important parts of your website quickly. For instance, if you have a banner image advertising a special offer, linking it to the product page makes it easier for people to find it.
  2. Looks Professional
    Linked images often make a website look more polished and user-friendly. Instead of text-based links everywhere, clickable images create a more visual experience.
  3. Saves Space
    Sometimes, a single image with a link can say more than a paragraph of text. This is particularly useful for promotions or blog posts.

How Do You Add a Hyperlink to an Image?

Hyperlink in image

Adding a hyperlink to an image is straightforward. If you’re using a website builder like WordPress, here’s how you can do it:

  1. Upload the Image
    Start by uploading the image you want to use onto your website.
  2. Select the Image
    Click on the image to edit it. You’ll usually see an option to add a link.
  3. Insert the Link
    Paste the URL of the page you want the image to link to. For example, if it’s a product page, copy and paste that product page’s URL.
  4. Save Your Changes
    Always remember to save your work. Test the link to make sure it’s working properly.

f you’re not using a builder like WordPress, you can also add hyperlinks to images using basic HTML. This might feel more technical, but there are plenty of tutorials online to guide you through it.

Things to Keep in Mind

While image hyperlinks are a great feature, it’s important not to overuse them. Here are some tips:

  • Don’t Confuse Your Visitors
    If every image is clickable, people might not know what to expect. Only link images that are genuinely helpful.
  • Use Descriptive Text Too
    Not everyone will realise that an image is clickable. Add a short line of text below it to guide people.
  • Optimise for Accessibility
    Always add “alt text” to your images. This describes the image for people who use screen readers and also helps with search engine optimisation (SEO).

When I was learning about website building through Wealthy Affiliate, I realised how small details like hyperlinks can make a big difference. Wealthy Affiliate has great training on using tools like WordPress to make tasks like this easy. If you’re feeling unsure, you can always start with their beginner-friendly courses.

And Finally...

Hyperlinks in images might seem like a small feature, but they’re a powerful way to make your website more engaging and user-friendly. Whether you’re linking to another page, promoting a product, or sharing useful resources, clickable images can help your visitors find what they need quickly and easily.

Take your time experimenting with these features and see how they fit into your website. Once you feel more confident, you can explore even more advanced tools to make your site stand out. For now, focus on keeping things simple, clear, and helpful for your visitors. Happy website building!

How to Make My Own Website Free of Charge

How to Make My Own Website Free of Charge

Creating your own website might seem like an impossible task if you’re just starting out. But I promise, it’s not as complicated as it seems.

I’ll guide you step-by-step on how you can create a website completely free of charge using a platform called Wealthy Affiliate and a few other helpful tools.

With this approach, you don’t need technical skills or prior experience—just the desire to learn. Let’s get started.

Wealthy affiliate Free website

1. Why Do You Need a Website?

A website is like your online shopfront—it’s where people find you, learn about what you do, and connect with your services or products. Whether you’re starting a blog, showcasing your artwork, or selling products, a website gives you credibility and visibility.

Starting free means you can experiment without worrying about upfront costs. It’s perfect for beginners!

2. Meet Wealthy Affiliate: A Beginner’s Friend

Wealthy Affiliate offers a free Starter Membership that’s ideal for anyone who wants to create a website without spending a penny. Here’s why I recommend it:

  • Free Websites: With the Starter Membership, you can build up to two websites on a platform called SiteRubix.
  • Easy-to-Use Tools: It has a beginner-friendly website builder—no coding required.
  • Step-by-Step Training: Their lessons guide you through the process of creating, customising, and managing your website.
  • Supportive Community: If you get stuck, there’s a whole community ready to help.

3. How to Build Your Website with Wealthy Affiliate

Here’s exactly what to do:

Step 1: Sign Up for Free

Go to the Wealthy Affiliate website and sign up for their Starter Membership. You don’t need a credit card—just your email.

Step 2: Choose Your Website Name

Think of a name that reflects your idea or business. For example, if you love gardening, you might call it “Green Thumb Ideas”.

Step 3: Use SiteRubix to Build Your Website

Once inside Wealthy Affiliate, use their SiteRubix builder to create your website. You’ll pick a name, choose a design (called a theme), and click “Build My Website”. That’s it—you’re online!

Step 4: Customise Your Website

Add your own text, images, and pages. Wealthy Affiliate’s training will walk you through everything, including how to create an “About” page and a blog section.

4. Other Free Tools to Consider

While Wealthy Affiliate covers everything, you might want to explore other free tools to enhance your website:

  • Canva: Create beautiful graphics for your site.
  • Unsplash: Get free, high-quality images.
  • Google Analytics: Track who’s visiting your site and what they’re looking at.

5. Why Free is Just the Beginning

Starting for free is brilliant, but as you grow, you’ll likely want to invest in your website. Wealthy Affiliate offers premium options that include a custom domain (e.g., yourwebsite.com), advanced training, and more.

For now, though, the free Starter Membership gives you everything you need to learn and grow at your own pace.

And Finally…

Starting your own website free of charge isn’t just possible—it’s simple when you have the right tools and guidance. Wealthy Affiliate’s Starter Membership is a fantastic way to begin.

Take your time, explore, and enjoy the process of building something that’s entirely yours. A website opens doors to opportunities you might not have thought possible, and it all starts with just a few clicks.

If you’re ready to take the first step, why not try Wealthy Affiliate today?


Here’s a little transparency: My website contains affiliate links. This means if you click and make a purchase, I may receive a small commission. Don’t worry, there’s no extra cost to you. It’s a simple way you can support my mission to bring you quality content.

What’s the Difference Between Pages and Posts in WordPress?

What’s the Difference Between Pages and Posts in WordPress?

When starting your website journey, understanding how WordPress works can feel a little overwhelming.

One common question I often hear is, “What’s the difference between pages and posts?”

If you’re wondering the same thing, don’t worry—I’m here to explain it in simple terms.

Pages: The Foundation of Your Website

Pages are like the backbone of your website. They are used for content that doesn’t change often and serves as the core structure of your site. Think of pages as the essential parts of your website that people will regularly visit to understand what your site is about.

Here are some common uses for pages:

  • Home Page: The first thing visitors see when they land on your site.
  • About Page: A space to tell people about you or your business.
  • Contact Page: Information on how visitors can reach you.
  • Services or Products Page: Details about what you offer.
pages and posts

Pages are typically static, meaning the content remains the same unless you update it. They don’t appear in a blog feed and are usually organised in a menu or navigation bar for easy access.

Posts: The Heartbeat of Your Blog

Posts, on the other hand, are used for dynamic content like articles, updates, or news. If you plan to blog or regularly publish new content, posts are what you’ll use.

Here are some characteristics of posts:

  • Date-Sensitive: Posts are organised by date, with the newest content appearing first.
  • Categories and Tags: These help organise your posts and make them easier for readers to find.
  • Comments Section: Posts typically have a comment feature where visitors can leave feedback or ask questions.
  • Feeds: Posts show up in your blog feed or RSS feed, keeping your audience updated.

Think of posts as the ongoing conversation you’re having with your readers. Each new post adds to the overall value of your site.

Key Differences Between Pages and Posts

To make it clearer, here’s a simple comparison:

Feature

Pages

Posts

Purpose

Static, timeless content

Dynamic, regularly updated content

Organisation

Standalone, added to menus

Organised by date, categories, tags

Interaction

No comments or social sharing

Allows comments and sharing

Display

Visible in menus or links

Appears in blog feeds or archives

Which Should You Use?

post and page

When building your website, you’ll likely need both pages and posts. Use pages for the key areas of your site that people will always need access to, like your home page or services page. Use posts for any content you want to update regularly, such as tips, news, or blog articles.

If you’re unsure where to start, think about what you want your website visitors to do. Do you want them to learn about your business? A page is the way to go. Want to share regular updates? That’s where posts shine.

And Finally…

Understanding the difference between pages and posts is one of the first steps in creating a professional and well-structured website. Take your time to plan what content belongs on pages and what fits better as posts. WordPress gives you the flexibility to create a site that works for your goals, so start small and build confidence as you go.

There’s no rush. Every click, every update, and every new piece of content you publish is a step forward on your journey. Keep learning, keep creating, and soon, your website will become a space you’re proud of!

Here’s a little transparency: My website contains affiliate links. This means if you click and make a purchase, I may receive a small commission. Don’t worry, there’s no extra cost to you. It’s a simple way you can support my mission to bring you quality content.

How Can I Edit ‘My About’ Me Post?

How Can I Edit ‘My About’ Me Post?

Your About Me page is one of the most important parts of your website. It’s where your visitors go to learn about you, your goals, and why they should trust you.

But creating an effective About Me post isn’t a one-time task—it’s something you’ll want to revisit and improve over time.

Let me guide you through editing your About Me post to make it personal, professional, and engaging.

Why Your 'About Me' Page Matters

People visit your About Me page to connect with you. They want to know:

  • Who you are.
  • What your website is about.
  • How you can help them.

If your About Me page feels outdated, overly formal, or unclear, it might turn visitors away. Let’s edit it step by step to make it shine.

About Me Page

Steps to Edit Your About Me Post

1. Start by Reviewing Your Current Post

Before you dive into editing, read your About Me post as if you’re one of your visitors. Ask yourself:

  • Is it clear who I am and what I do?
  • Does it feel personal and authentic?
  • Does it explain how I can help my audience?

Make notes on areas that feel vague, irrelevant, or outdated.

2. Refine Your Opening

The first few lines of your About Me post are critical—they need to grab attention. To improve your opening:

  • Be welcoming: Start with a friendly introduction like “Hi, I’m [Your Name], and I’m here to help you [state your purpose].”
  • Connect with your audience: Briefly mention a shared goal or challenge they might have.

For example:
“Hi, I’m Sarah, and I’m passionate about helping small business owners create websites that work for them. When I started, I felt overwhelmed too, but I’ve learned simple ways to succeed, and I’m excited to share them with you.”

3. Update Your Personal Story

Your story is what makes your About Me page unique. Share:

  • Why you started your website: Was it to solve a problem, follow a passion, or help others?
  • Your journey so far: Highlight key milestones, such as challenges you’ve overcome or skills you’ve gained.
  • A bit of personality: Include details that make you relatable, like hobbies or interests.

Make sure to keep it concise—your audience wants to know about you, but they also want to see how you can help them.

Focus on visitor's needs

4. Focus on Your Audience’s Needs

Remember, your About Me page isn’t just about you—it’s about your audience too. Address:

  • How you can help: Explain what your website offers, whether it’s advice, services, or products.
  • What they’ll gain: Be clear about the value they’ll get from engaging with your site.

For example:
“On this site, you’ll find easy-to-follow guides to building your own website, even if you’re a complete beginner. I’ll walk you through each step, so you’ll never feel lost.”

5. Check for Consistency in Tone

Your tone should match the rest of your website. To ensure consistency:

  • Keep it conversational: Write as if you’re speaking directly to your reader.
  • Avoid jargon: Use simple language that’s easy to understand.
  • Stay positive: Focus on solutions and benefits rather than challenges.

6. Add a Call-to-Action (CTA)

End your About Me page with a clear next step for your audience. For example:

  • “Explore my blog for more tips on creating a great website.”
  • “Contact me if you have any questions—I’d love to help!”
  • “Sign up for my free guide to get started today.”

7. Proofread and Test

Once you’ve made your edits:

  • Proofread: Check for typos and grammatical errors.
  • Test readability: Read it aloud to ensure it sounds natural.
  • View it on all devices: Make sure it looks good on desktops, tablets, and phones.

And Finally...

Your About Me page is more than just an introduction—it’s your chance to connect with your audience and show them why they should trust you. Editing it may feel like a big task, but taking it step by step will make it manageable and enjoyable.

If you’re feeling stuck or need more ideas, remember that platforms like Wealthy Affiliate can provide tools and inspiration to help you along the way.

Here’s a little transparency: My website contains affiliate links. This means if you click and make a purchase, I may receive a small commission. Don’t worry, there’s no extra cost to you. It’s a simple way you can support my mission to bring you quality content.